Would you like to sell your products on your website? WooCommerce is an open-source extension that allows you to create an online store. You can create an e-commerce website using WordPress whether you sell digital or physical products. This plugin is easily integrated into your newsletters thanks to the AcyMailing integration. You will be able to insert your products in your newsletter and increase your sales. In this article, we will show you how to use WooCommerce in AcyMailing.
Note: The first steps are dedicated to the installation and configuration of AcyMailing and WooCommerce. If you already have them, go directly to step 5.
Step 1: Download and configure AcyMailing
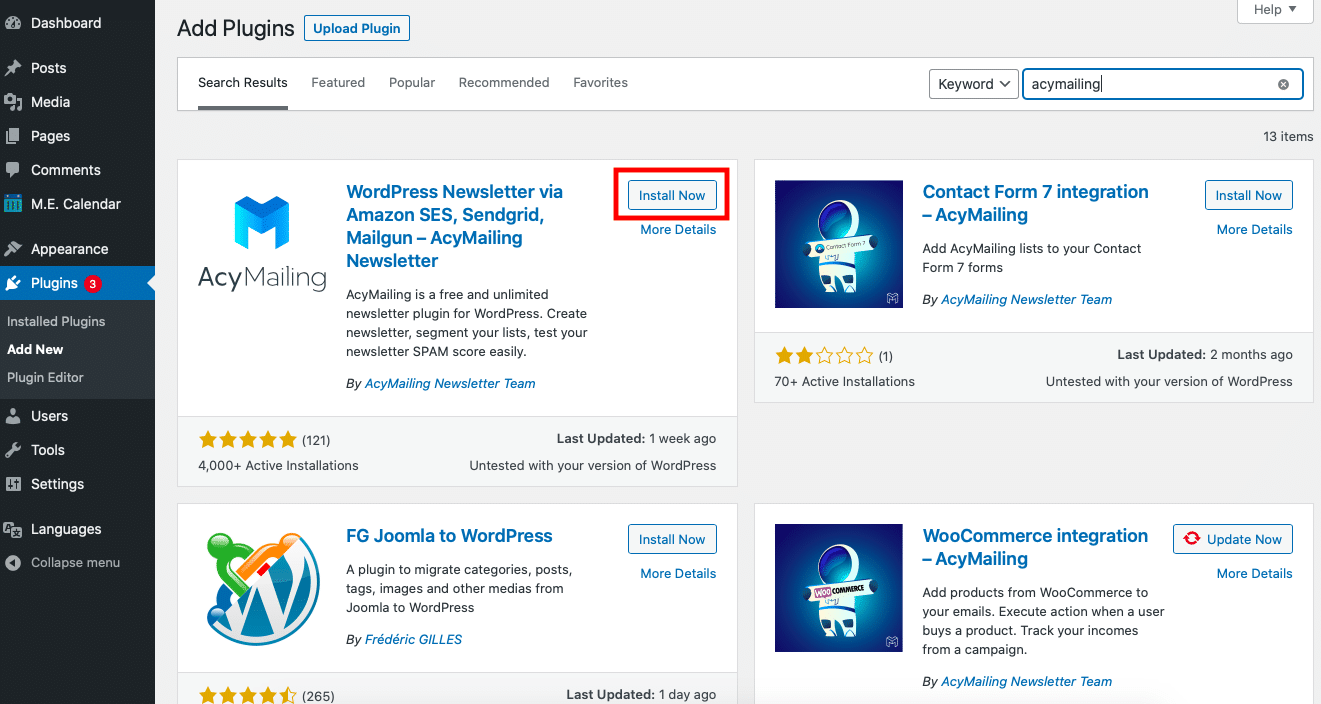
The first step is to install AcyMailing. Download it from the "Plugin" section and then click "Add an extension". Simply search for it, download it, and install it.
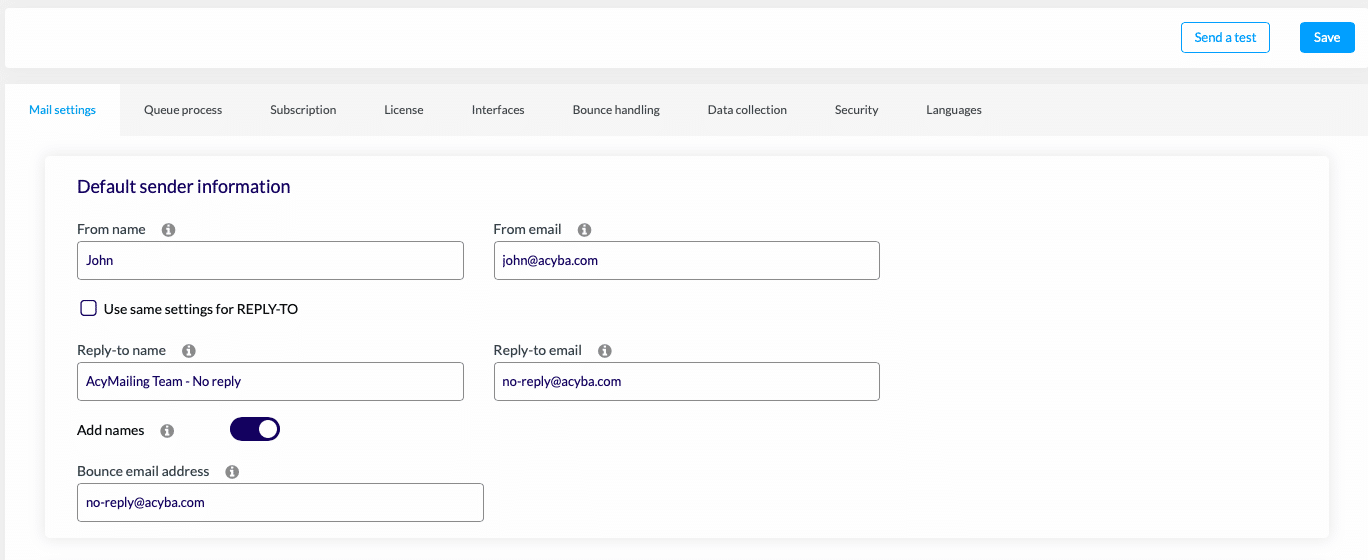
Once your plugin has been installed, you can configure it in "Configuration". Fill in the sender's information (email settings).
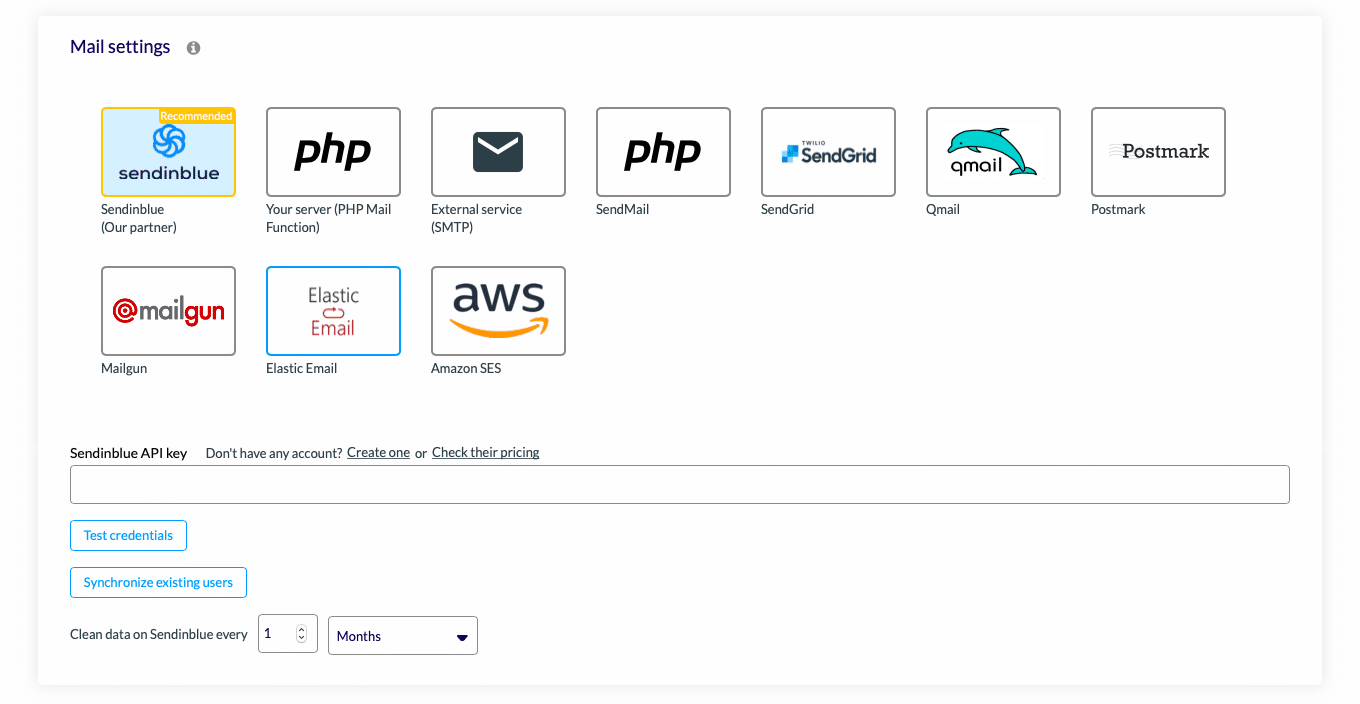
Then, indicate your email settings. You'll need to select the sending method you want (Sendinblue for WordPress, Mailgun for WordPress, Amazon SES, etc.). According to the selected sending method, you have to fill in: the API key, your identity (name, first name), the server and the port.
Step 2: Install WooCommerce
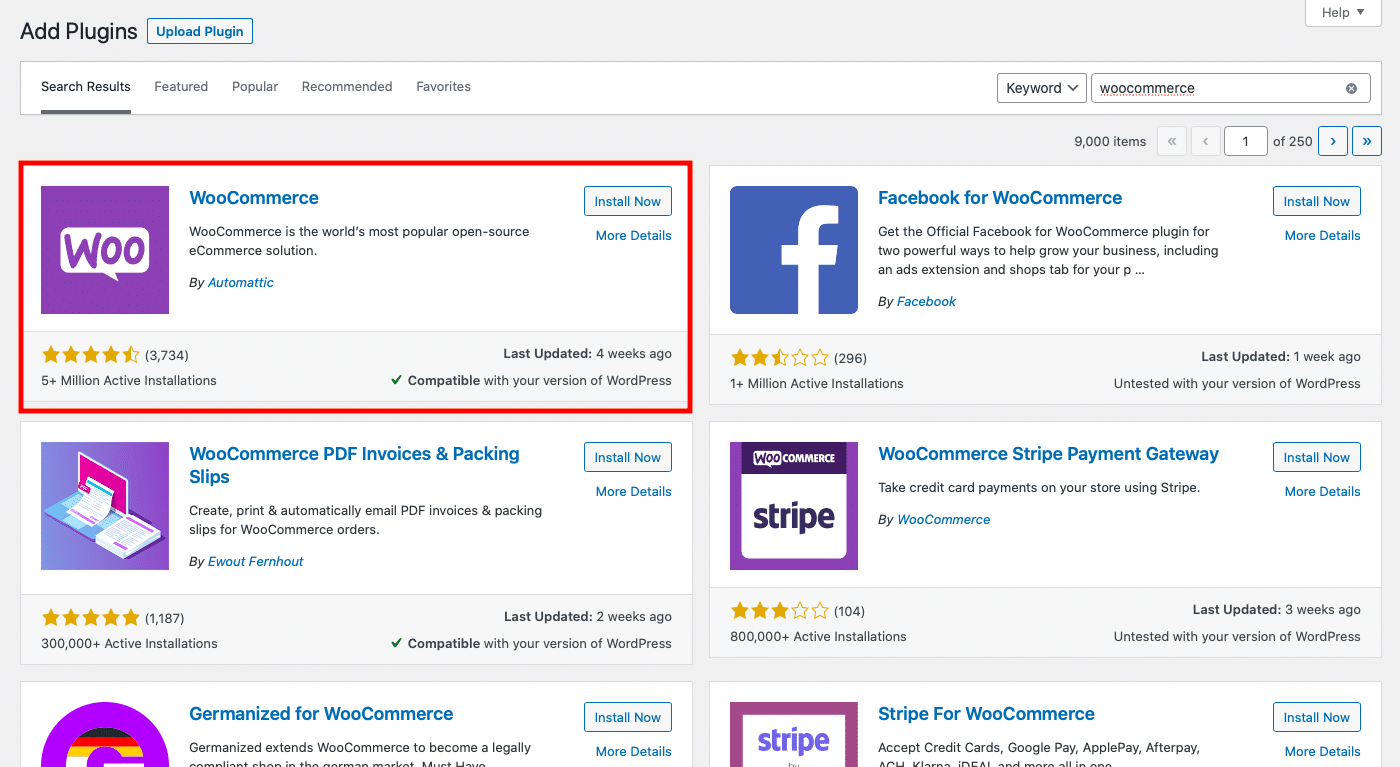
You can now install WooCommerce on your WordPress site. Follow the same steps as for AcyMailing to download WooCommerce. Go to "Plugin" then "Add Extension" and search for WooCommerce in the search bar.
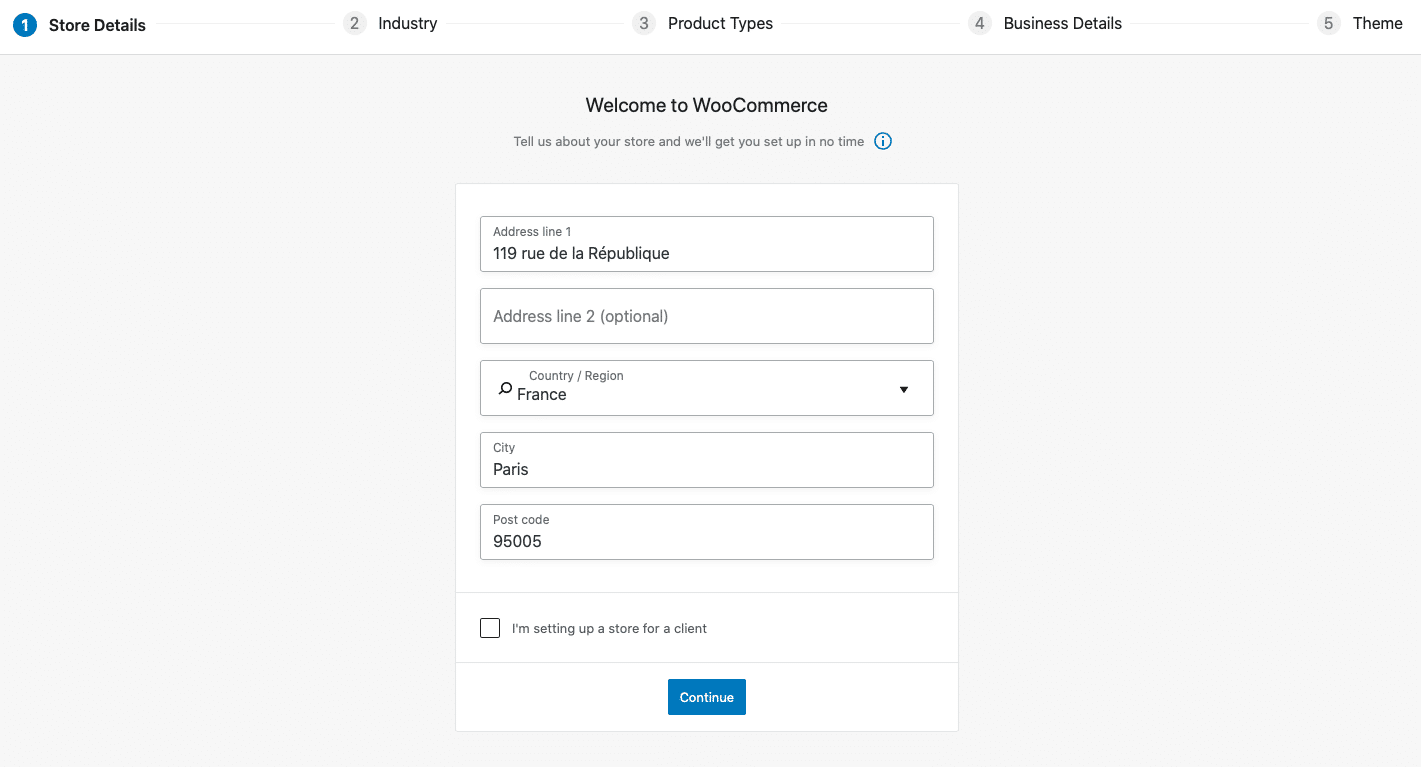
Then go to WooCommerce. You'll need to fill in some information about your business.
The first thing you need to do is enter the address of your business in "Store Details".
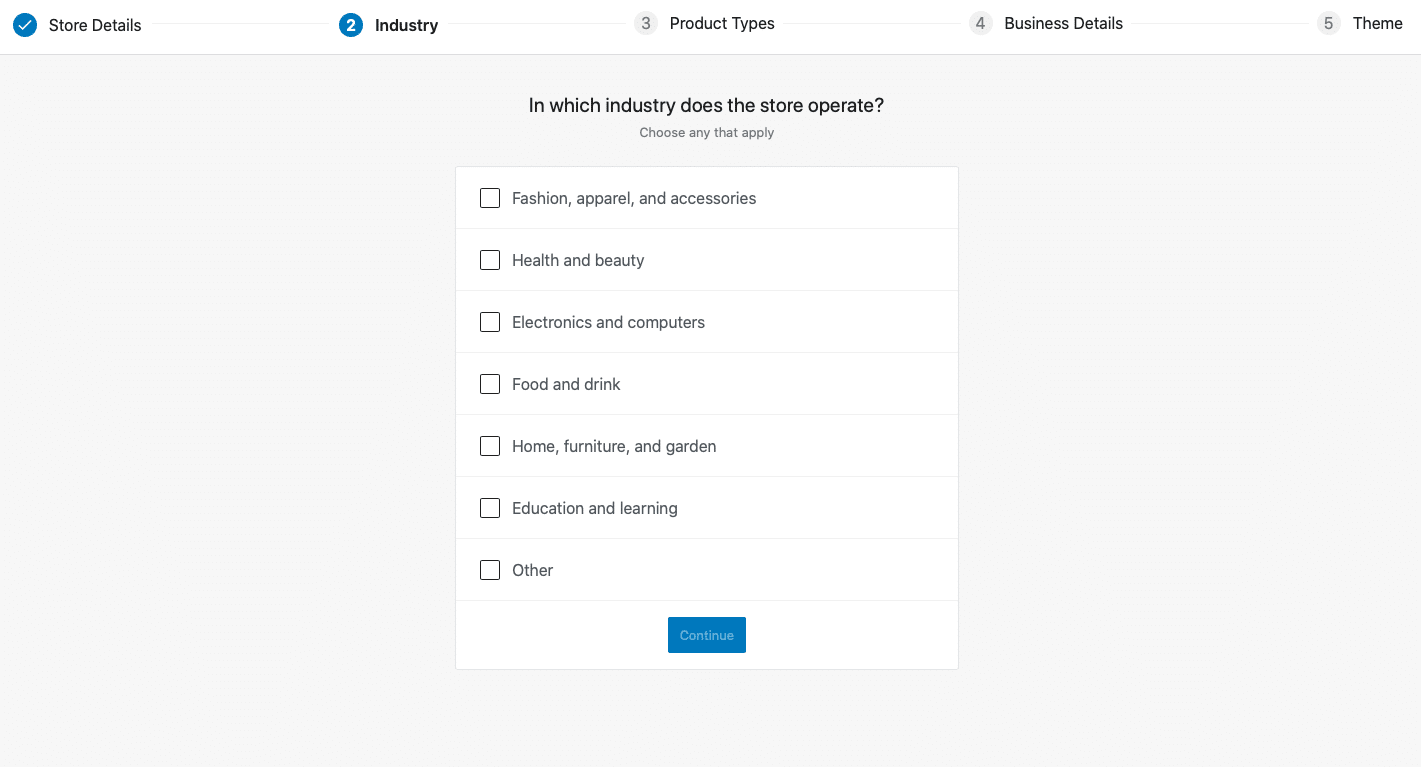
Then choose in which industry your store is operating and click on "Continue".
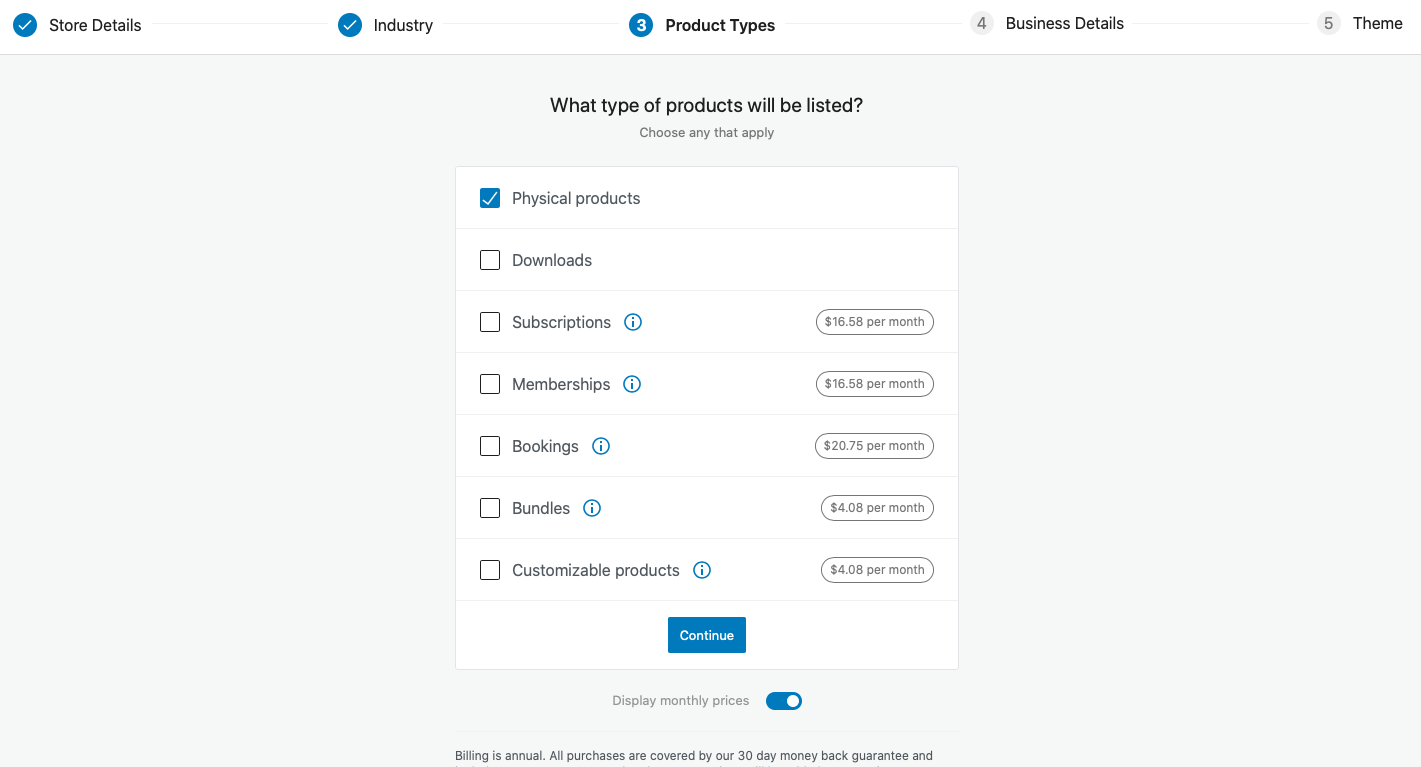
Then select the type of your products and click on "Continue".
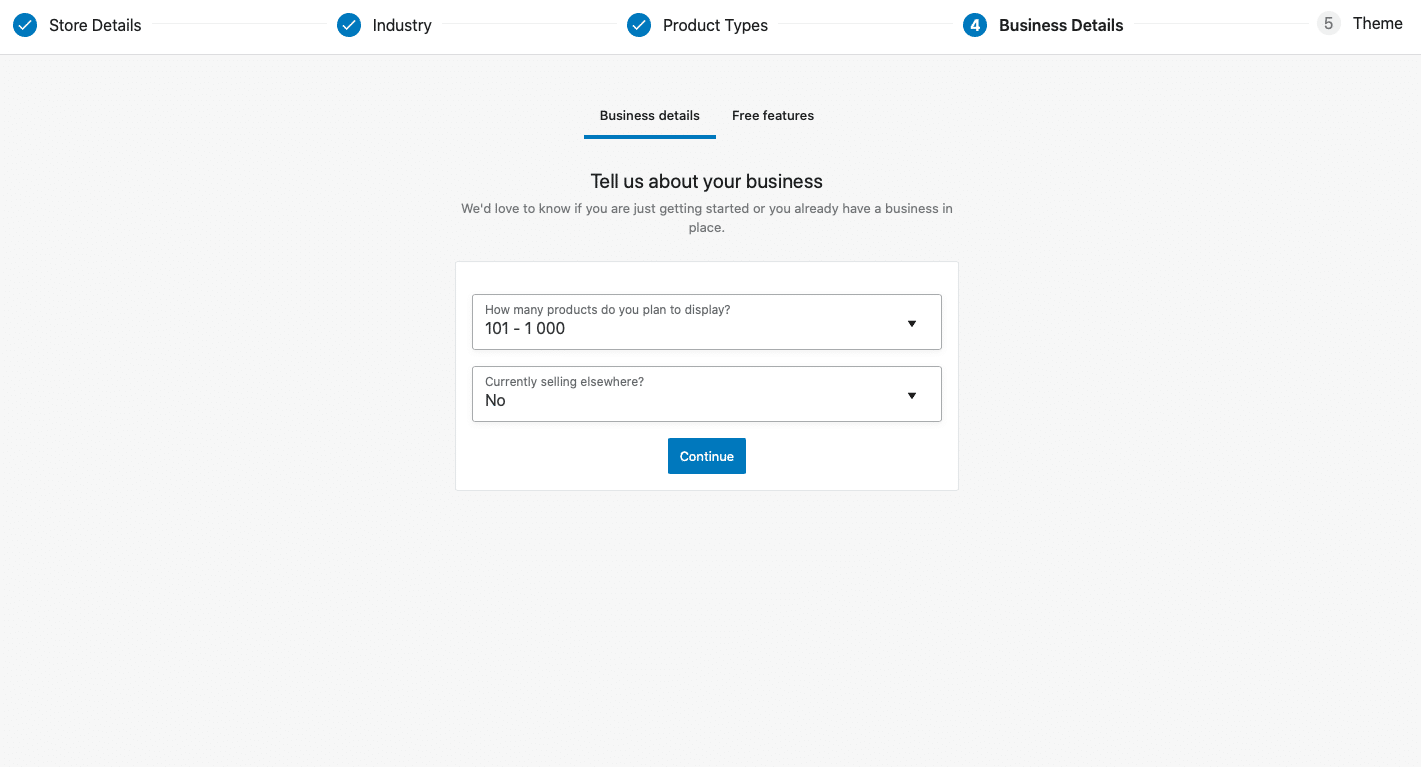
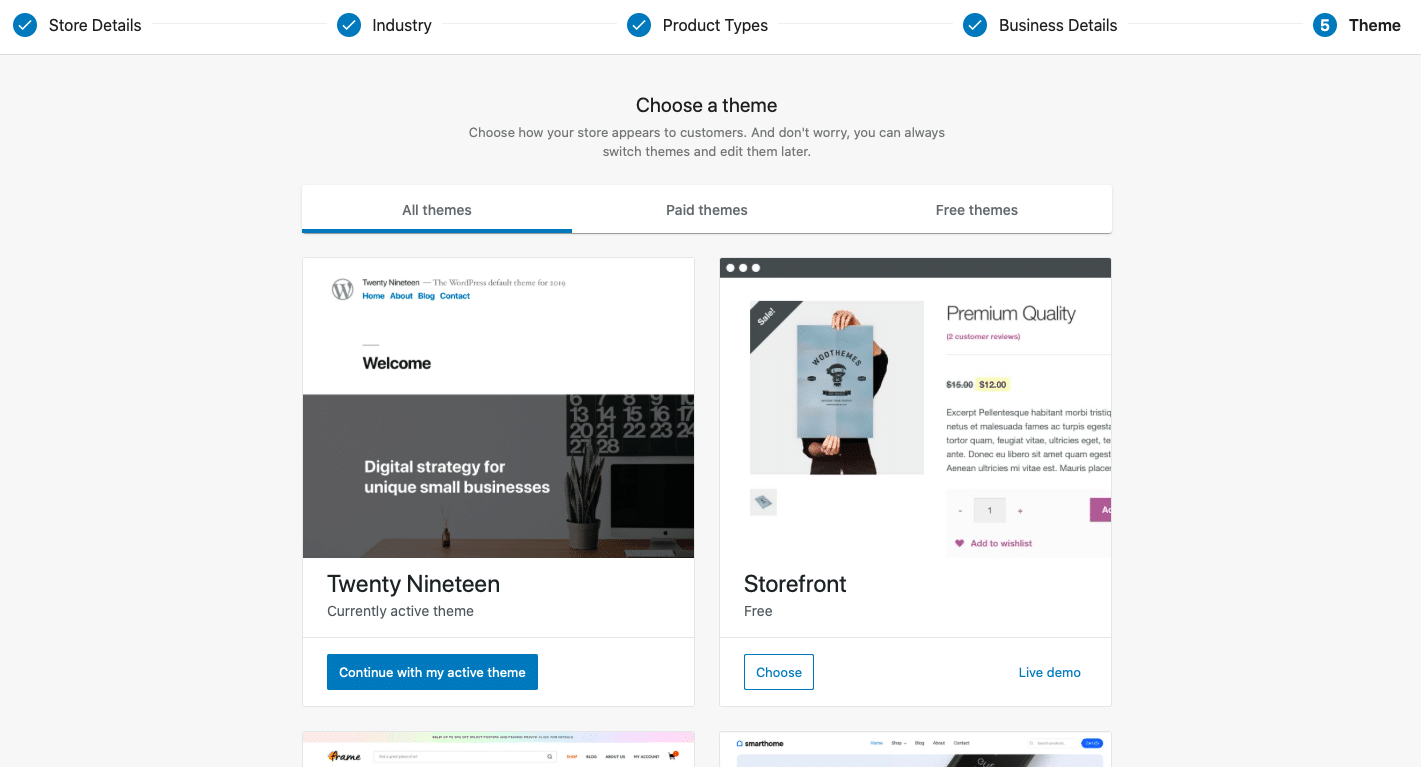
Finally, fill in your company details and choose the theme you want to use for your website.
Step 3: Adding products to WooCommerce
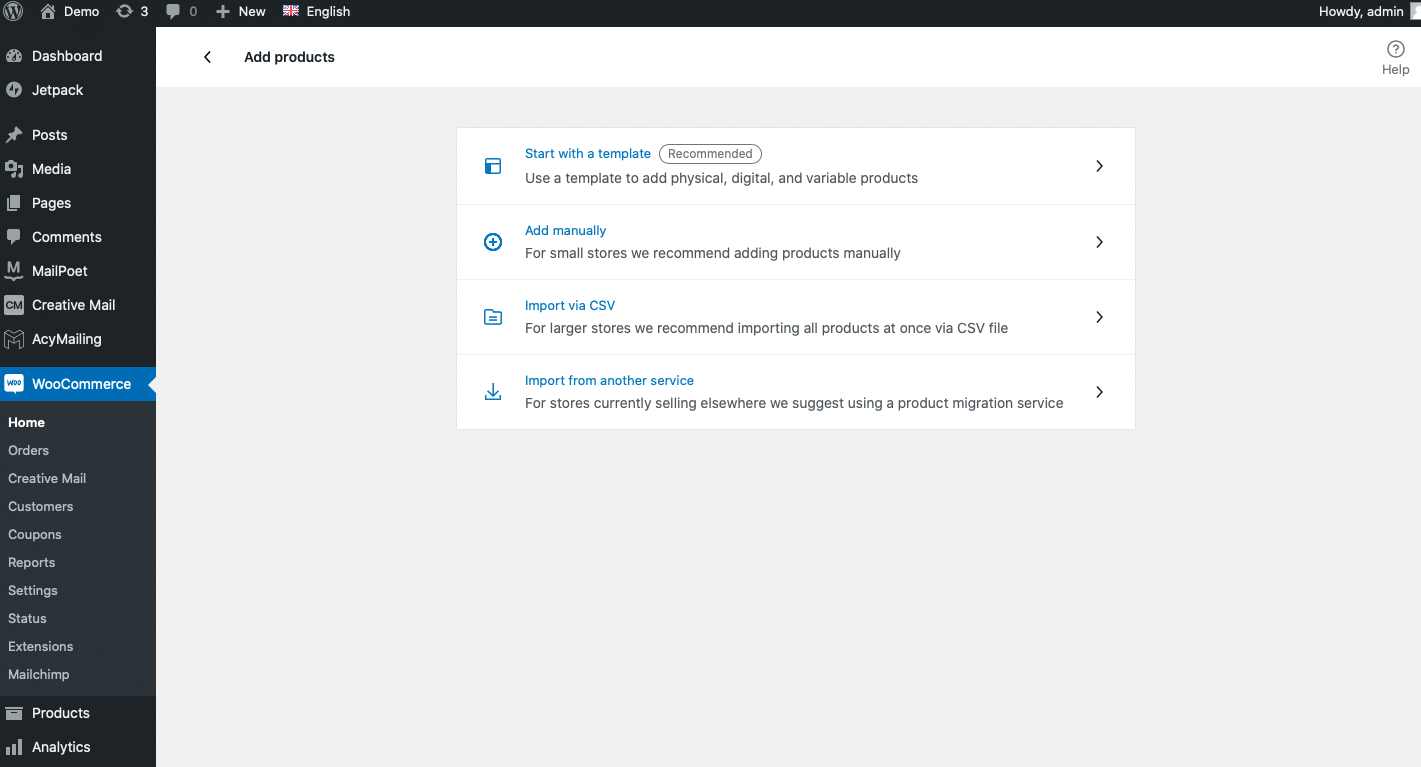
Now you can add your products to WooCommerce. Click on "Add products". You can add your products in different ways:
- From a template
- Manually
- Via a CSV file
- Via another migration service
For this article, we will create our products from a template. Choose which type of product you want to import: physical, digital or both (variable) and then validate.
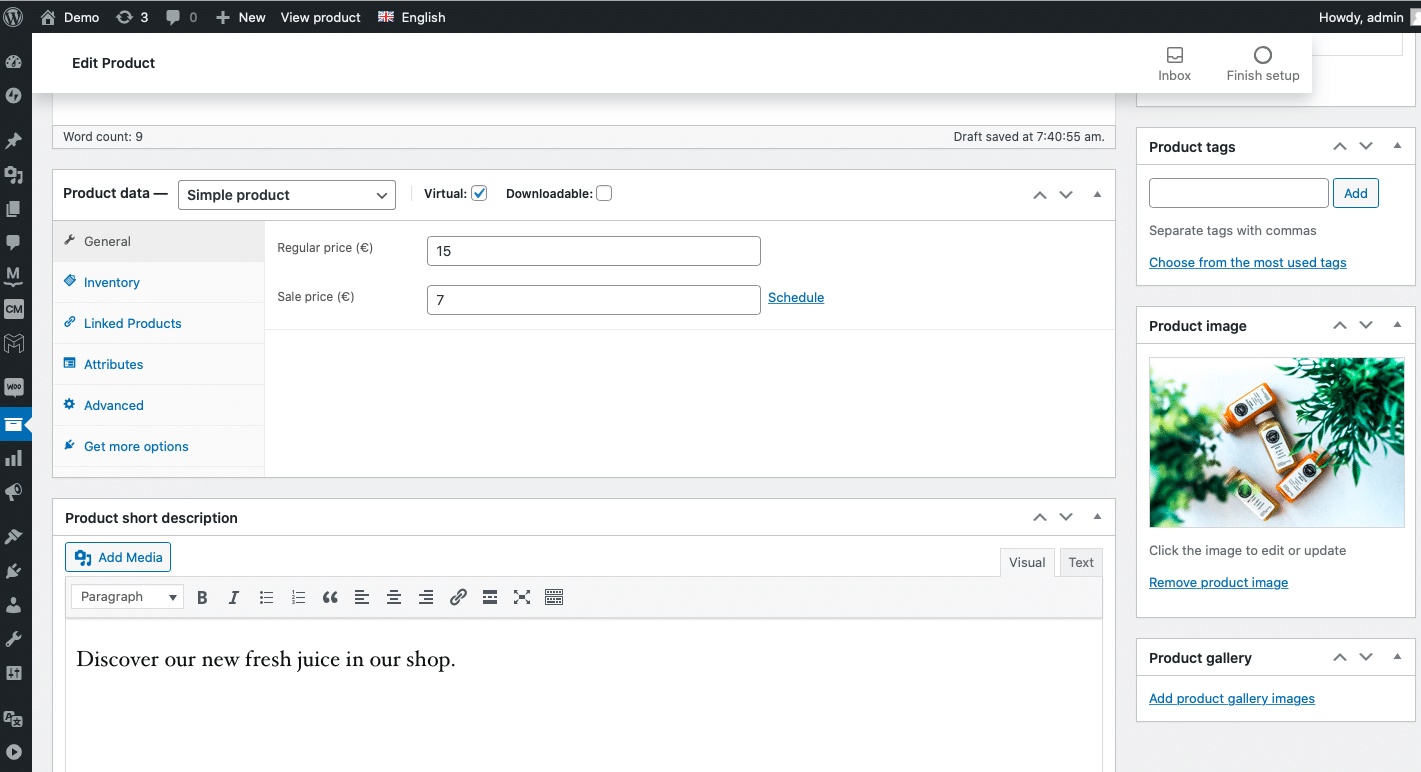
You are now in your product's editor. WooCommerce explains each category to help you get started. You will be able to edit your product. Give your product a name, its price, its description, and an image...
There are many characteristics available in "Product data" (quantity in inventory, dimensions for delivery, attributes, etc.). Additionally, you can choose whether the product is single, bundled, or affiliated with another product. Save your work when you are finished.
Step 4: Configure WooCommerce
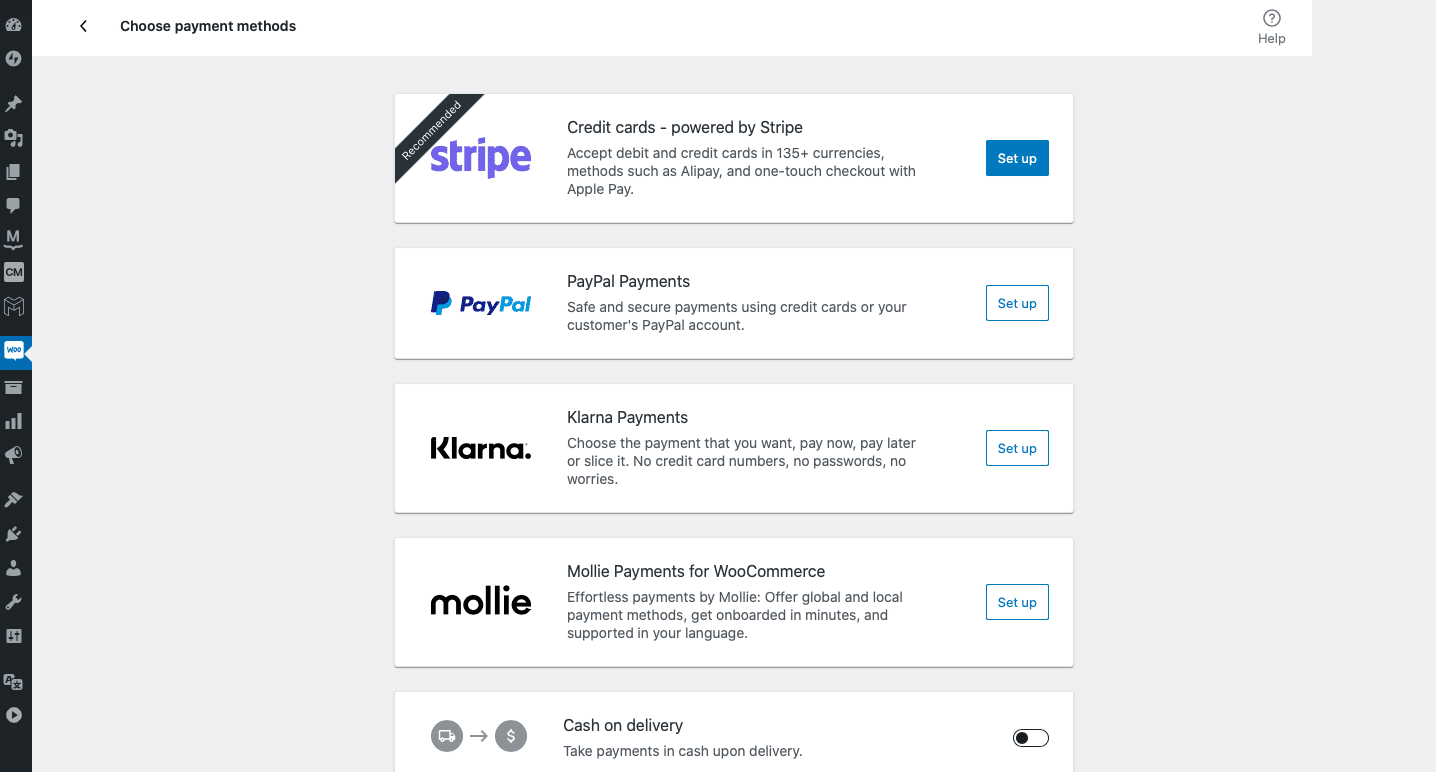
Choose the payment method you will accept from your customers, so they can pay for your items. Several payment options are available:
- Stripe
- PayPal
- Klarna
- Mollie
- Payment on delivery
- Direct bank transfer
When you select a payment method, WooCommerce will install it, and you will be able to log in.
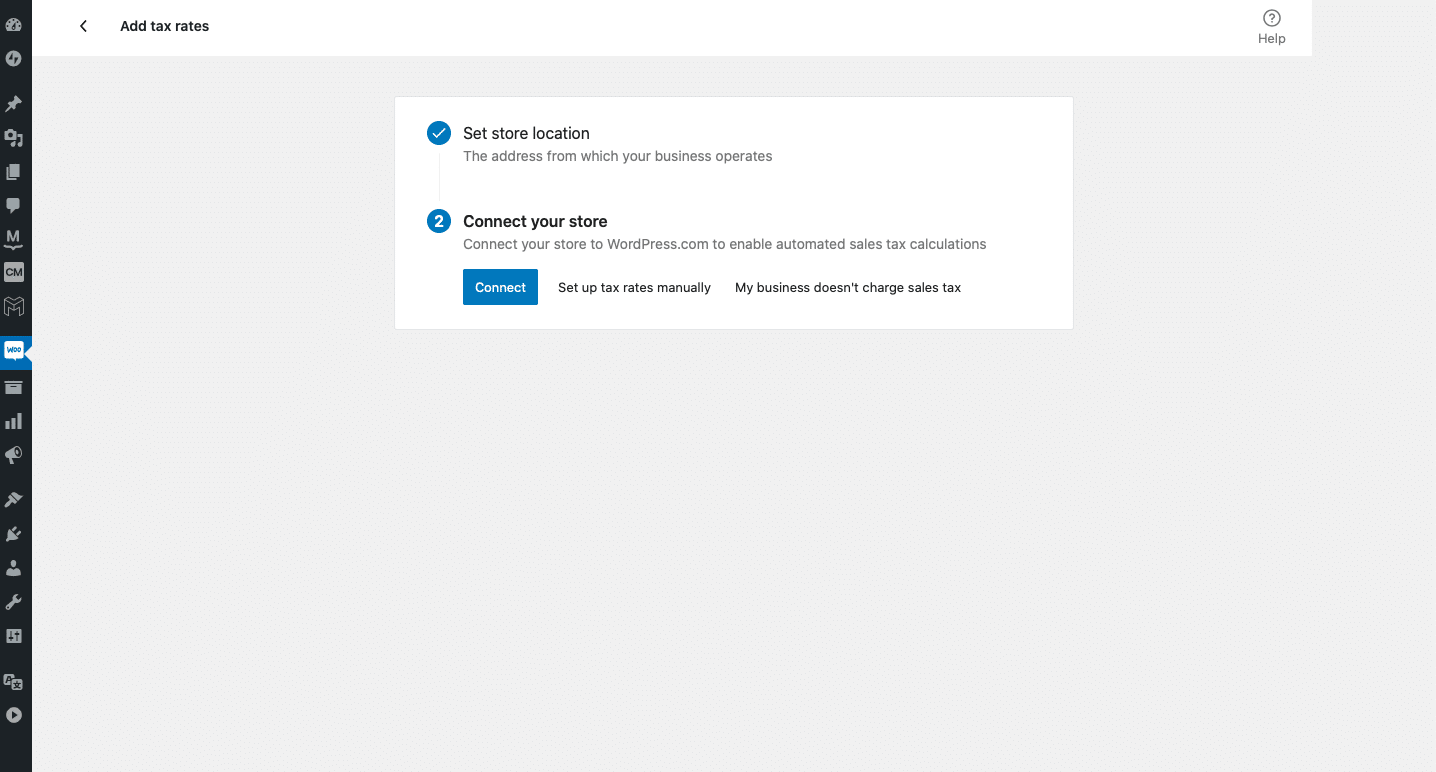
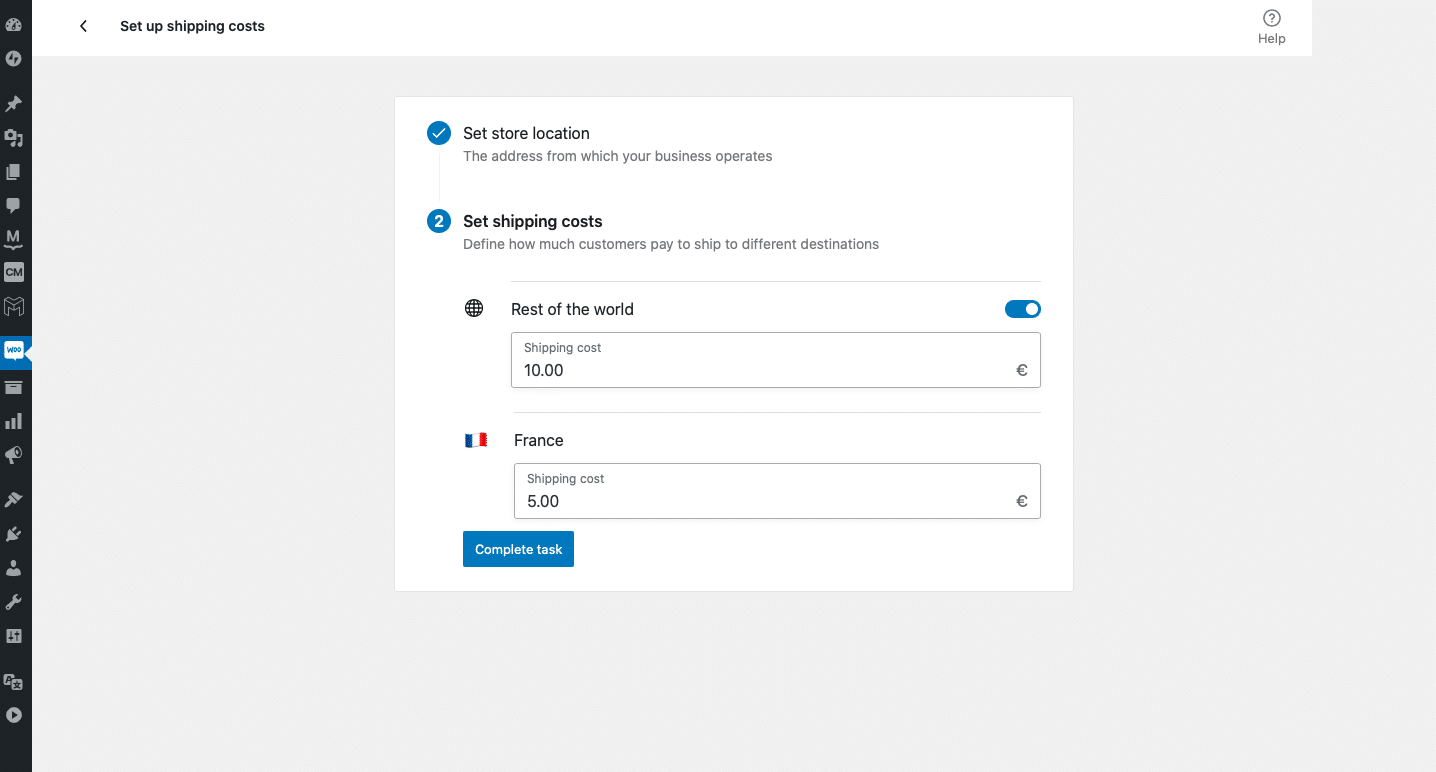
You can then add tax rates and configure the delivery cost according to the destination.
Finally, you can decide to customize your online shop. Create your own custom homepage, add a logo or set a visible notice on all pages of your shop.
Step 5: Install the WooCommerce integration for AcyMailing
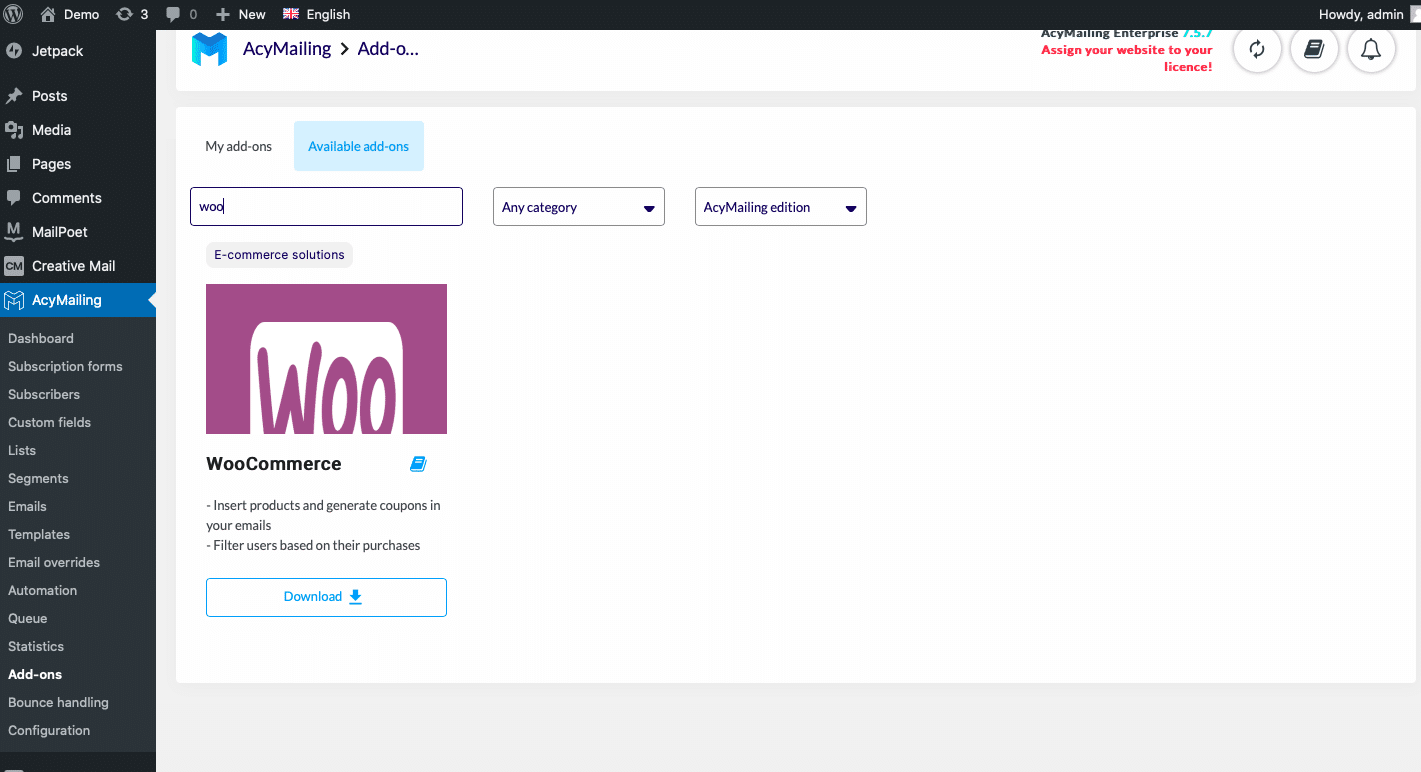
In the Add-ons section, search for WooCommerce and click on "Download". AcyMailing has created an add-on to easily integrate WooCommerce into your newsletters.
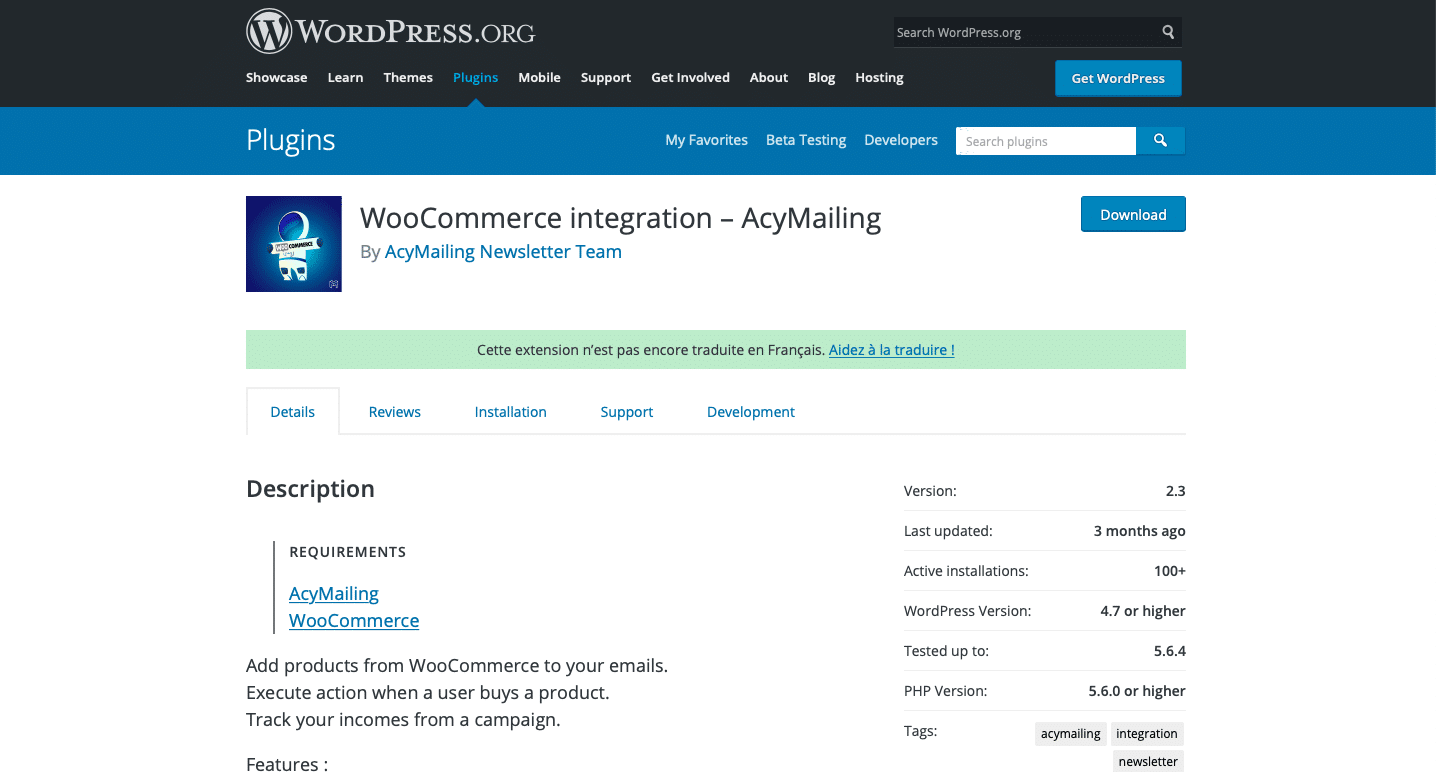
You will be automatically redirected to the add-on page on WordPress. This page gives you an overview of what you can do with this add-on.
Then click on "Download".
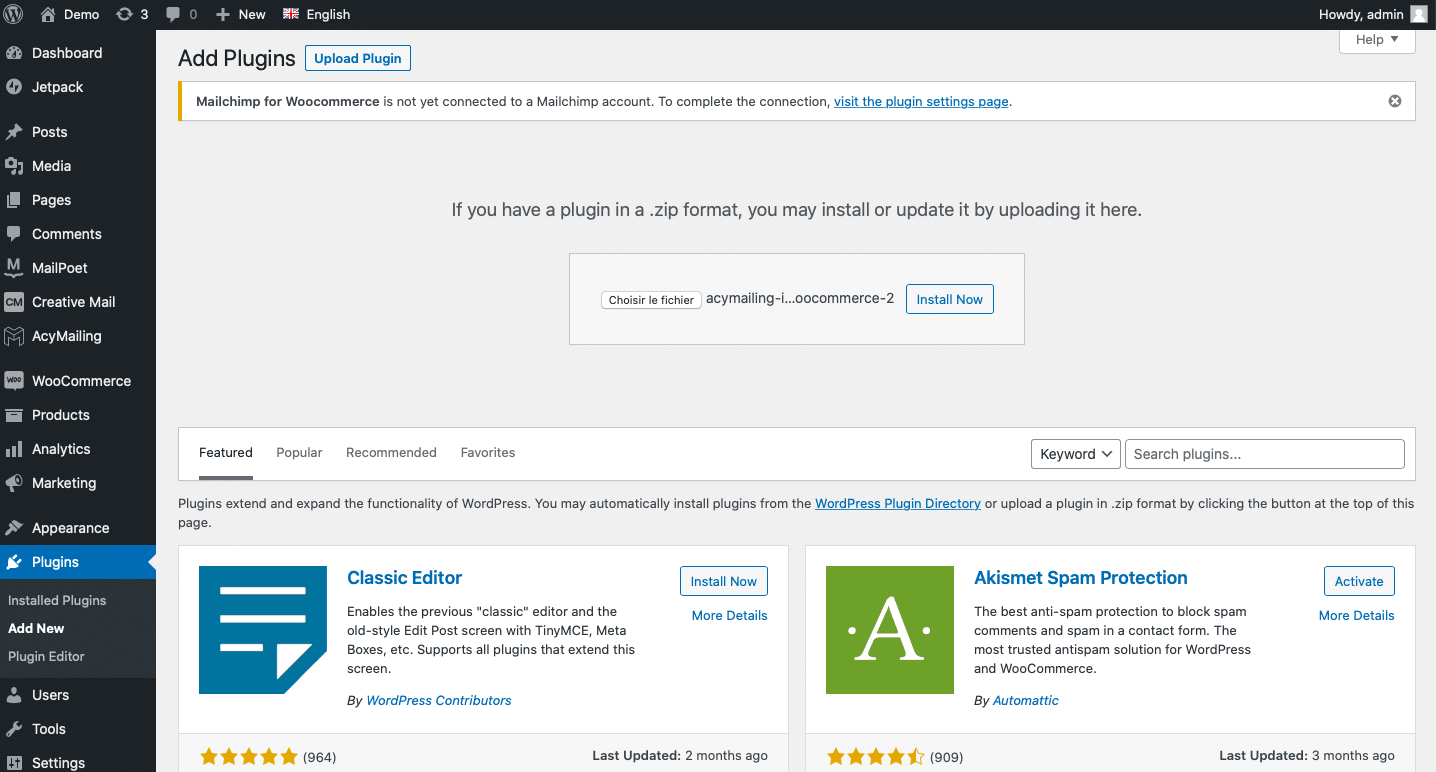
Your computer will download an add-on file. Go to Plugins, then add a new plugin. Upload your file by dragging and dropping. Then you can click on download and activate it.
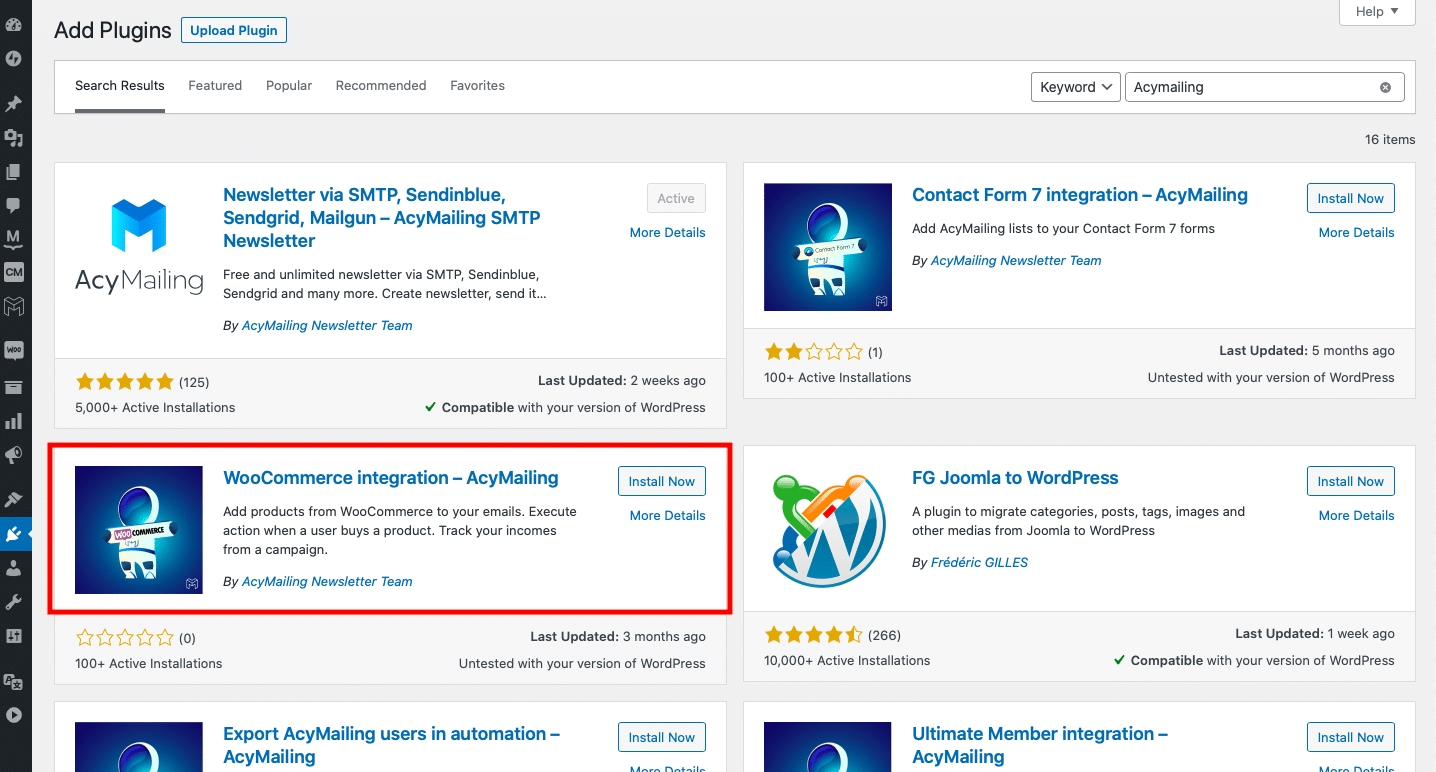
Another way to download WooCommerce is available. In "Plugin", search for AcyMailing. Our WooCommerce integration should appear in your first search results. All you have to do is download and activate it.
Step 6: Insert a WooCommerce product into AcyMailing
To insert a WooCommerce product, start by creating a newsletter. Go to "E-mails" and click on "Create". Start building your email by selecting a campaign. To learn more about how to create a newsletter with AcyMailing, check out this article: How to create a newsletter on WordPress?
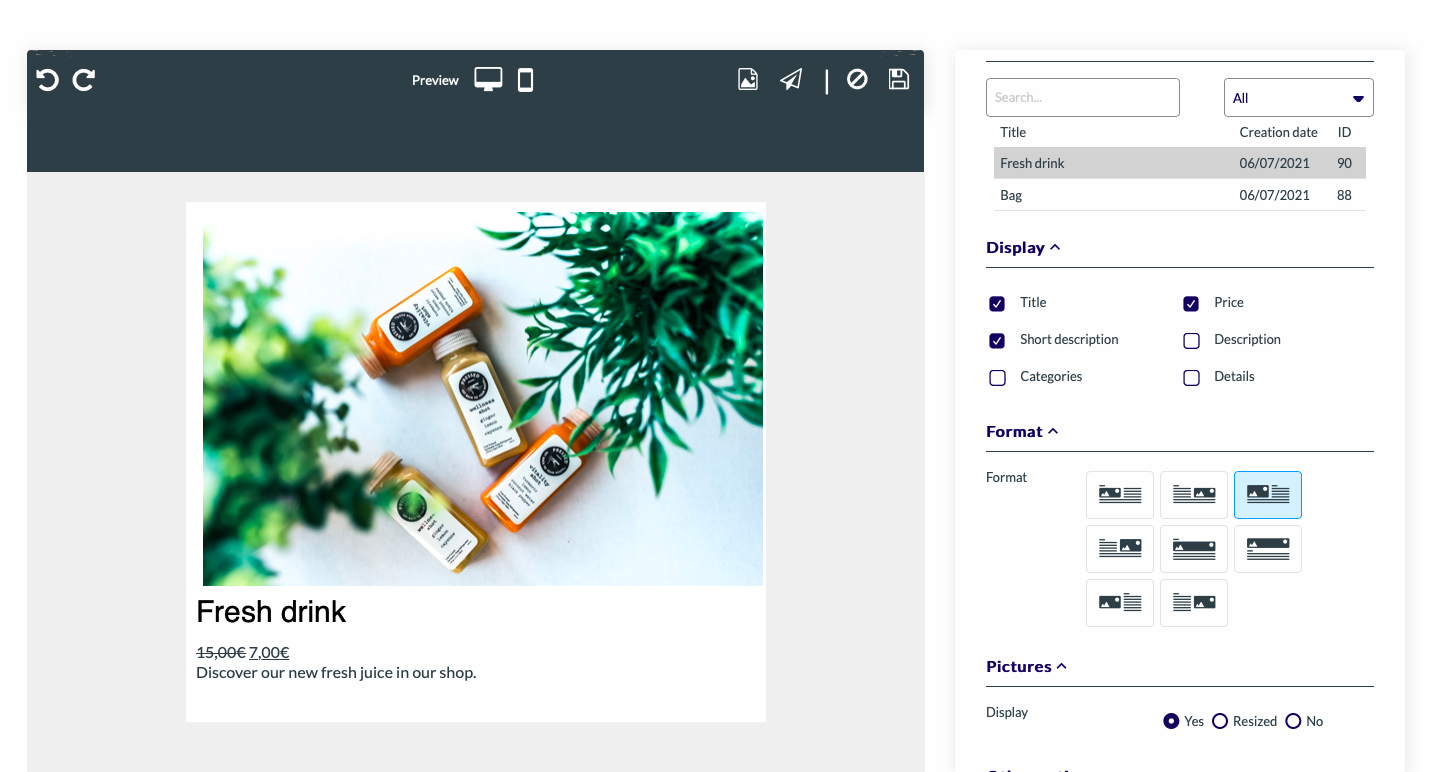
Drag and drop elements to create your newsletter in the editor mode. The tools you can use in your newsletter can be found in the right-hand menu. In the "Content" section, a WooCommerce block should be available. Drag it into your email.
A grey block will appear. By clicking on it, you will have access to the different actions available on the product display. You will be able to add product characteristics (title, price, description), modify its display format or add an image.
The information available on the products is the one you entered on WooCommerce.
You now know how to use the WooCommerce integration of AcyMailing.

