A popup is a window that appears automatically when you browse a website. Popups are advertising tools. They are used to encourage a user to complete an action on a website: to transmit an advertising message, to fill in a survey or a subscription form. The most commonly used popups are subscription popups and exit intent popups. On e-commerce websites, these popups are widely used by brands and companies to increase their conversion rate and generate sales.
In this article, we will focus on how to create an exit popup on WordPress.
What is an exit popup?
An exit popup is a window that opens when a visitor is about to leave a website page. If your cursor goes to the search bar or the “x” closing icon, the page will detect the user’s intention to exit. It is at this point that the exit popup will appear to keep the potential customer.
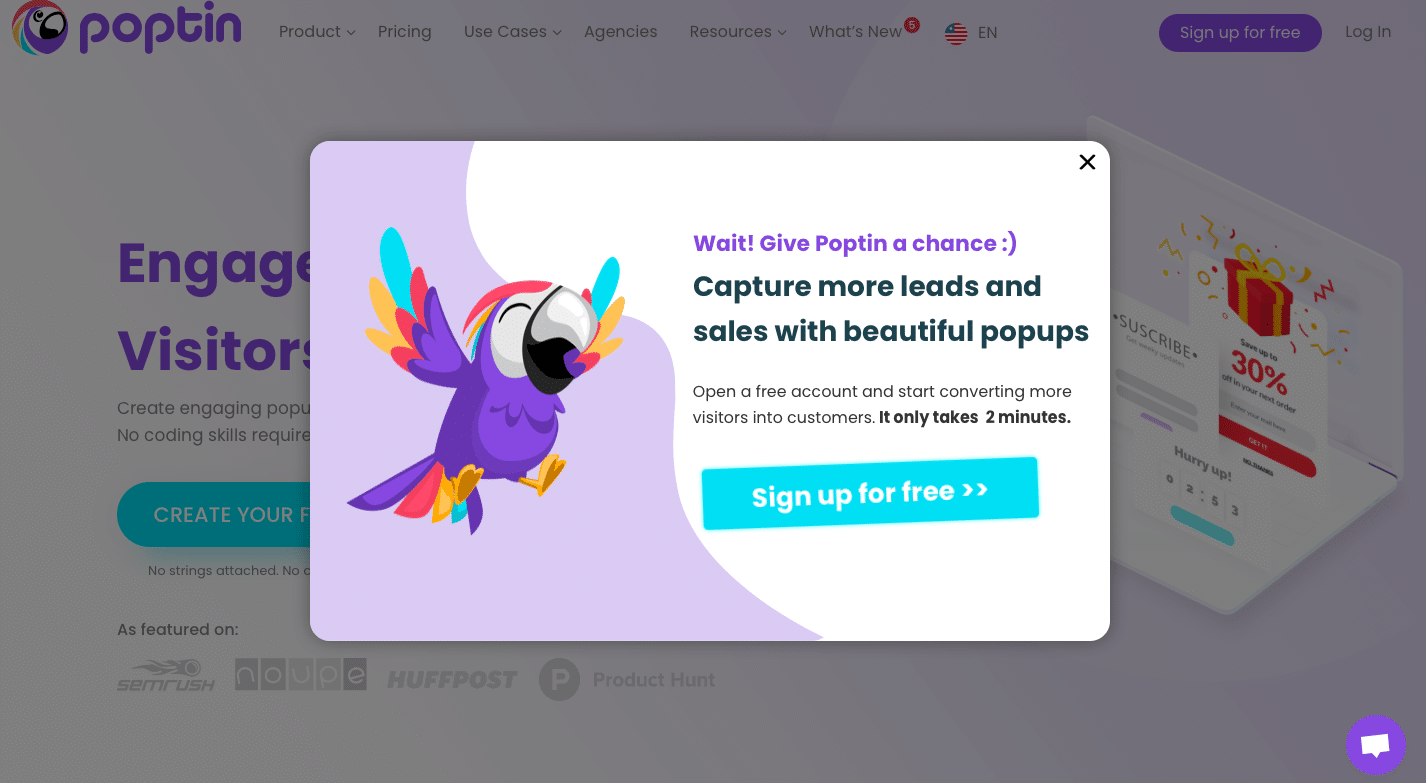
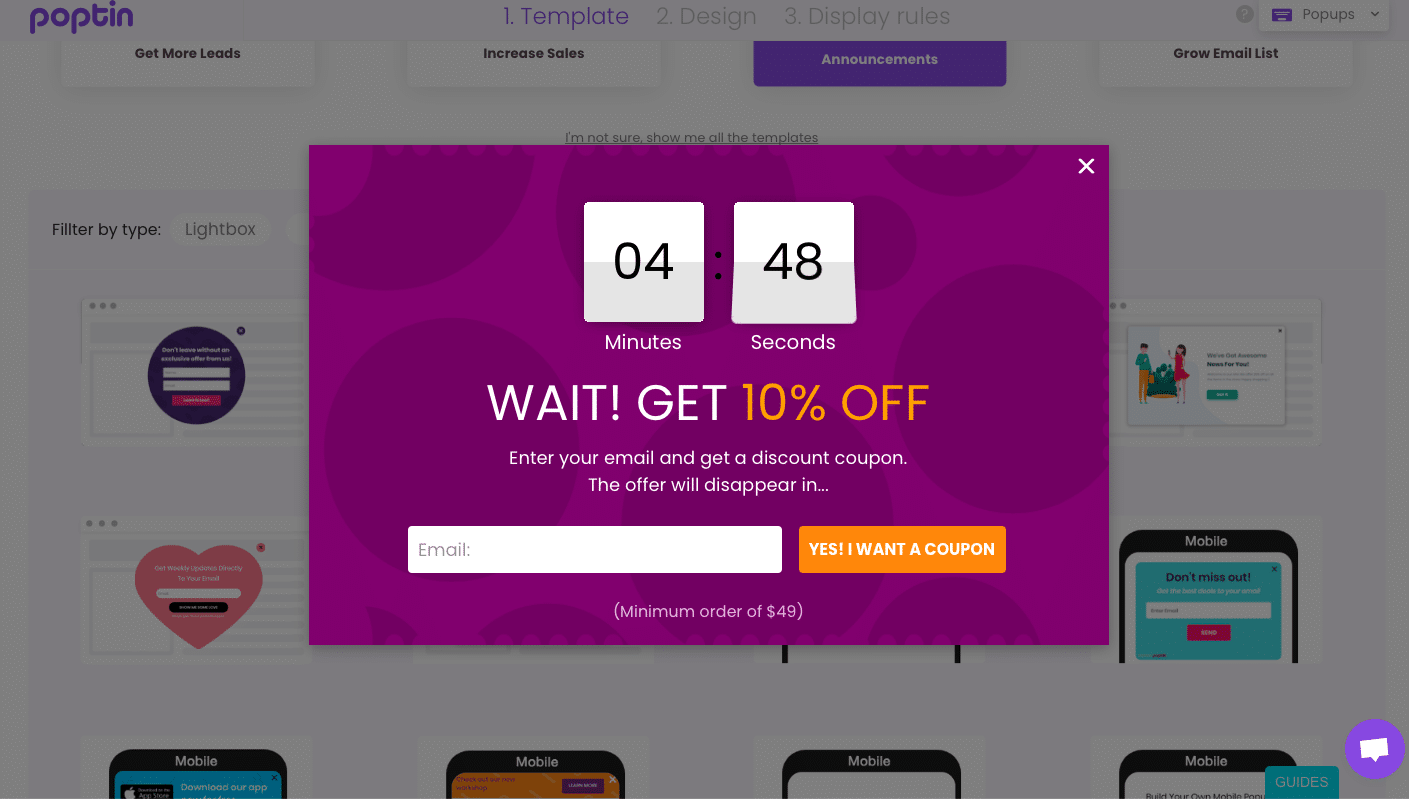
In many cases, the exit intent popup is used to encourage the visitor to continue their action: complete their shopping cart, send their contact information (email), sign up for an offer/service….. For brands, these popups give a last chance to communicate (see the example below).
The exit popup can be useful in several situations:
- Encourage the visitor to complete the shopping cart
On an e-commerce website, the exit popup can appear when a visitor does not complete their shopping cart. 70% of Internet users abandon their shopping cart online. The popup can suggest a promotional offer (discount, free delivery) to keep the potential customer. For example: “10% more on your shopping cart, this offer expires in one hour”. This action allows to end a sale and converts a visitor into a customer. If this doesn’t work, you can complement your strategy by sending WooCommerce cart abandonment emails.
- Keep the visitor
The exit intent popup is also used to keep a visitor. By offering interesting offers, you can create interest and obtain their email address.
- Increase your list of prospects
The exit popup can appear before a visitor leaves a website by offering them to sign up for a service (newsletter). This technique allows you to increase your contact list and eventually convert visitors into customers.
As you can see, these popups can be very useful for acquiring new customers and increasing the number of online sales (see more examples). We will now see how to create an exit popup on WordPress.
How to create an exit popup on WordPress?
It is possible to create a popup on your WordPress website using a plugin. Several plugins allow you to create an exit popup: Popup Maker, OptinMonster, Popup builder, Poptin…
The exit popup is an option that is generally not included in the free versions of WordPress plugins. OptinMonster which is one of the best known plugins has many advantages: Exit-Intent technology, Drag and drop editor, large choice of forms etc. but the advanced features (exit pop-up) are not free (from 30$). If you are interested, here is an article that will help you create an exit intent pop-up on OptinMonster.
Create an exit popup with Poptin
Some plugins such as Poptin allow you to create your exit popup for free. Poptin is a plugin that allows you to create popups on WordPress. Now let’s see how to create an exit popup with this plugin.
STEP 1: Install Poptin
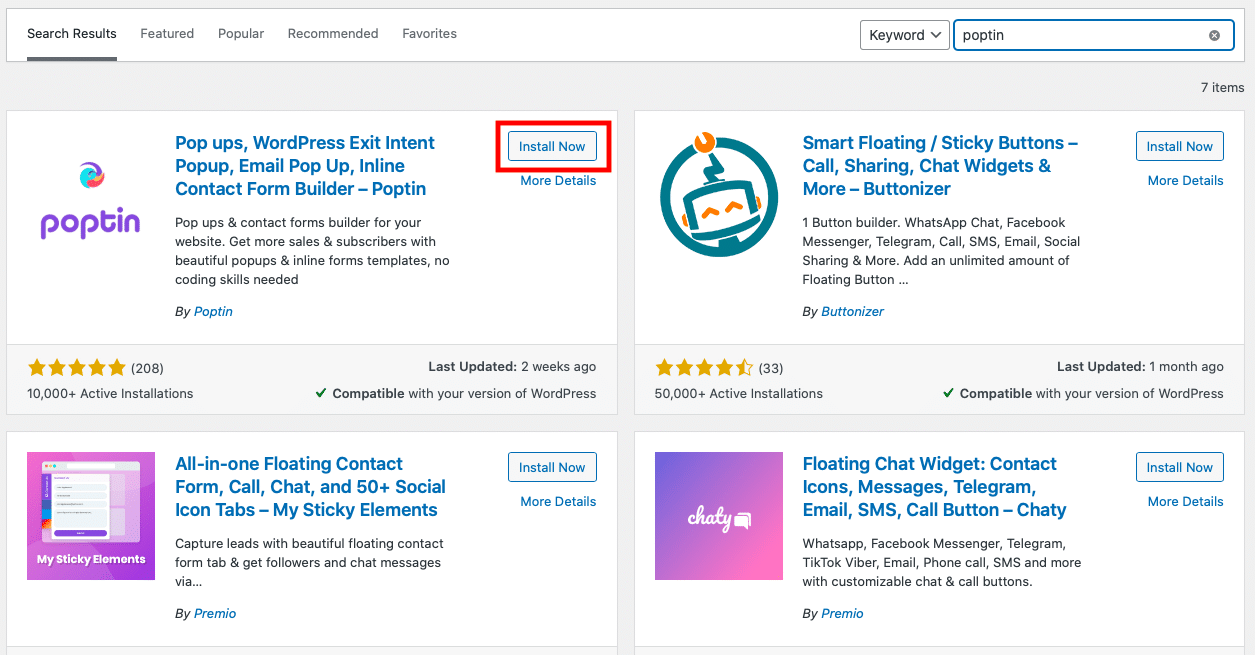
To download Poptin, you have to go to your WordPress menu then “Plugin” and “Add a new plugin”. You can search for “Poptin”, install it and activate the plugin.
STEP 2: Register with Poptin
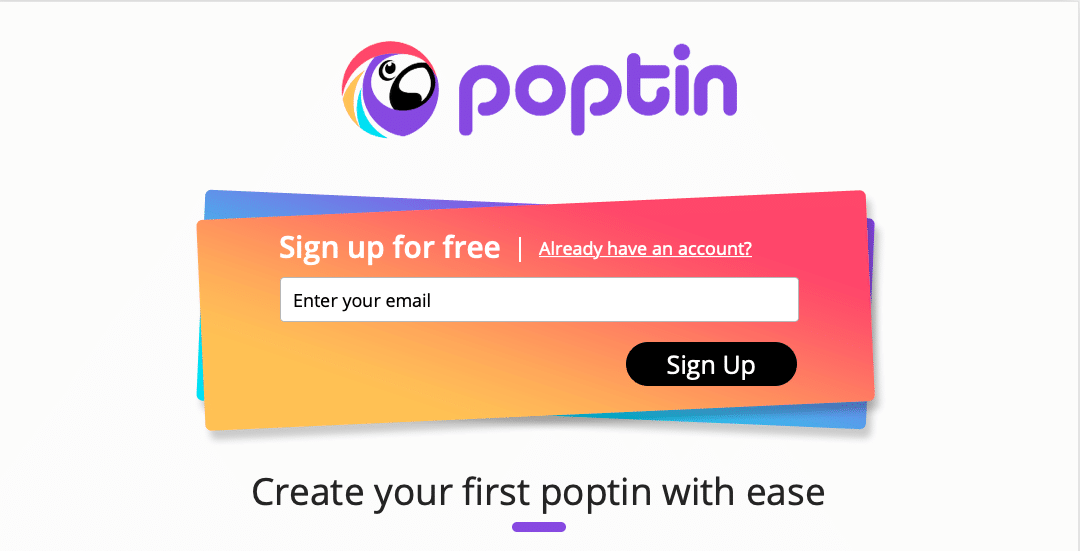
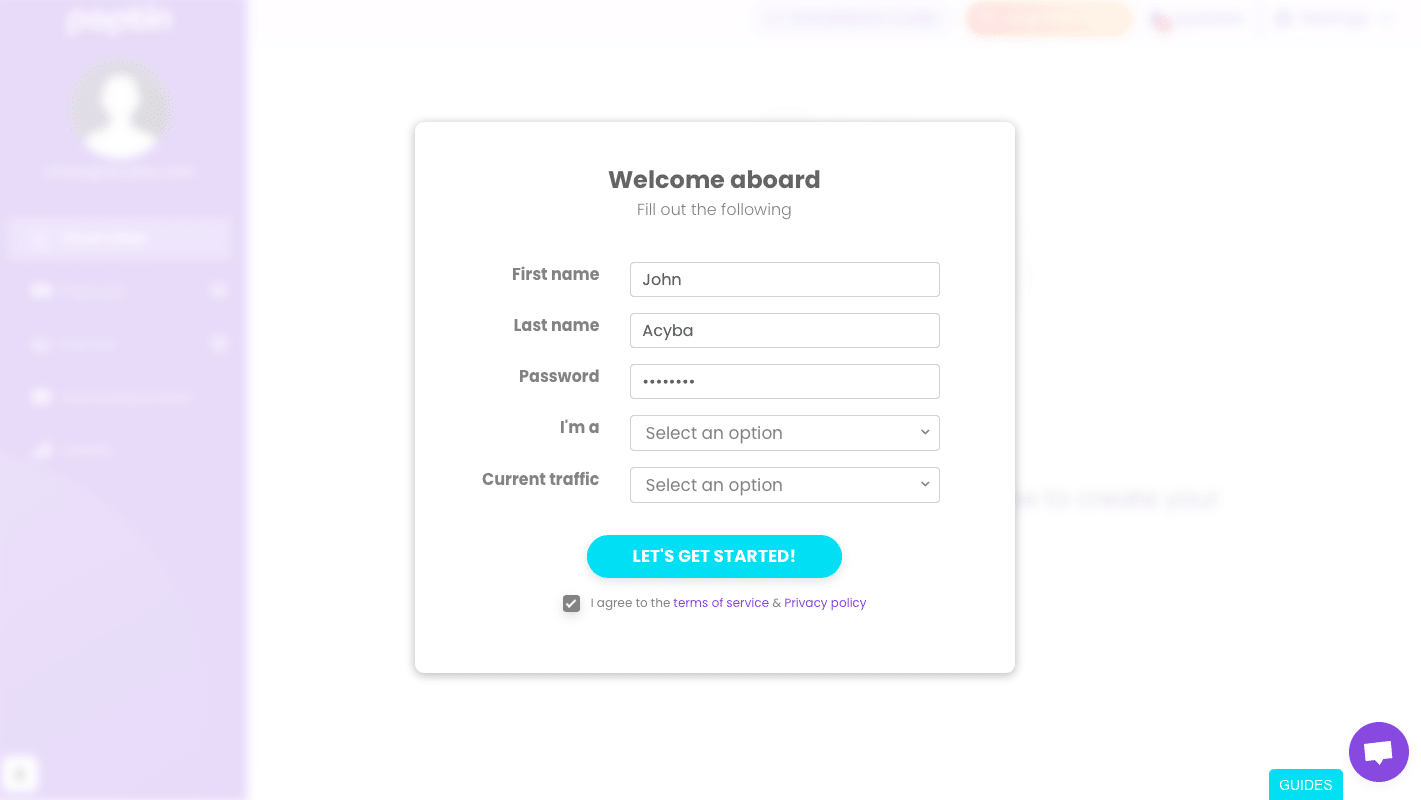
You can then go to “Poptin”. You will be redirected to the plugin page to sign up. Fill in your email address and click on “sign up”. You should receive a confirmation email and go back to your Poptin dashboard.
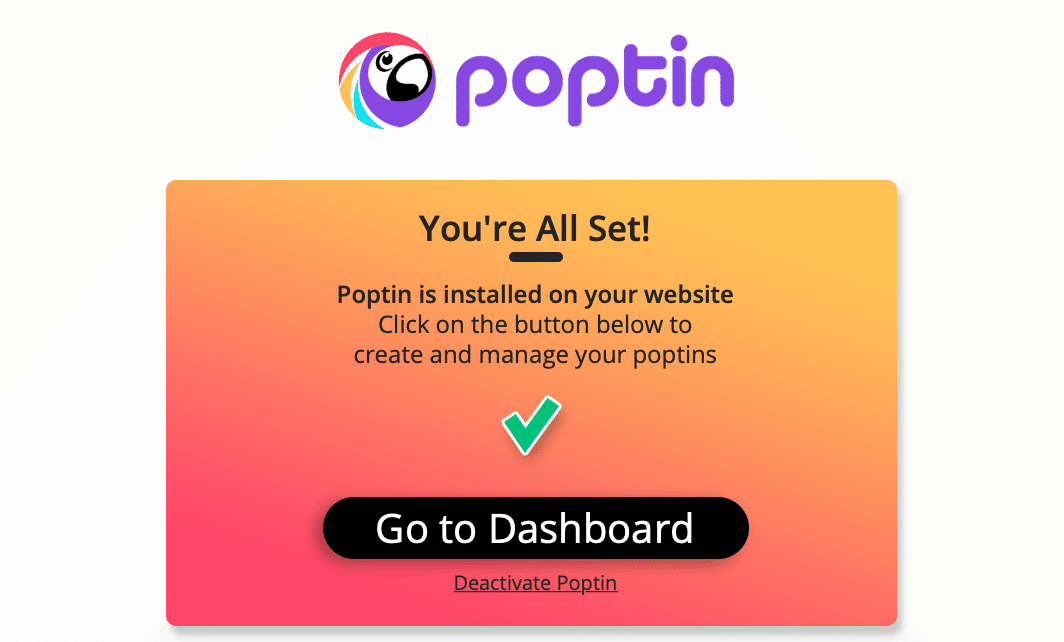
On your dashboard, you can finish setting up your subscription. A widget will appear and you will be redirected to the plugin page. You will be able to fill in your information and choose the package you want.
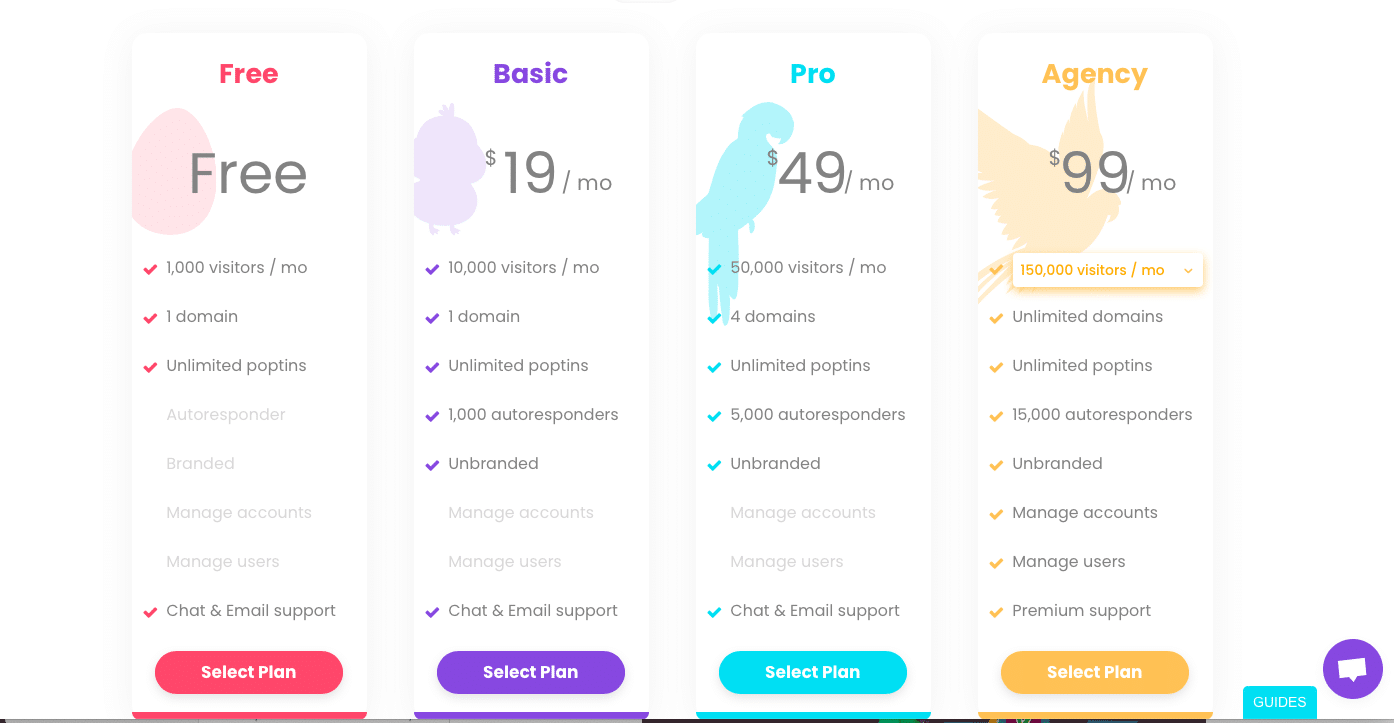
There are 4 different packages: Free, Basic ($19), Pro ($49) and Agency ($99). Select your package according to your needs. Note: the free package allows you to create exit intent popups. You can therefore start with this version.
STEP 3: Create your exit pop-up on WordPress
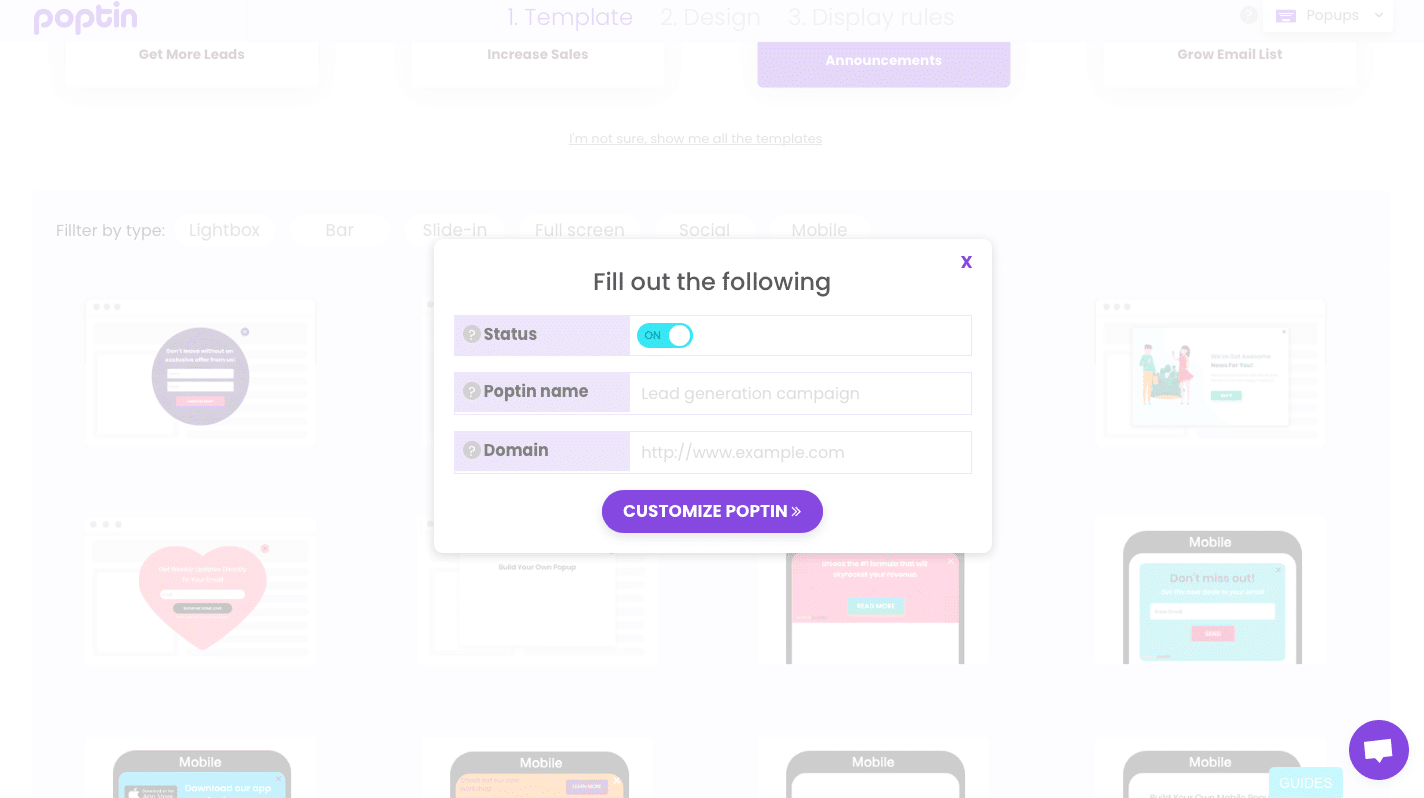
Once you have chosen your package, you will be able to create your first exit intent popup. Poptin gives you the choice between different types of templates depending on the objective you want to achieve:
- Get more leads
- Increase your sales
- Promote an ad
- Grow your email list
According to your goal, different templates are available. Choose the template you want.
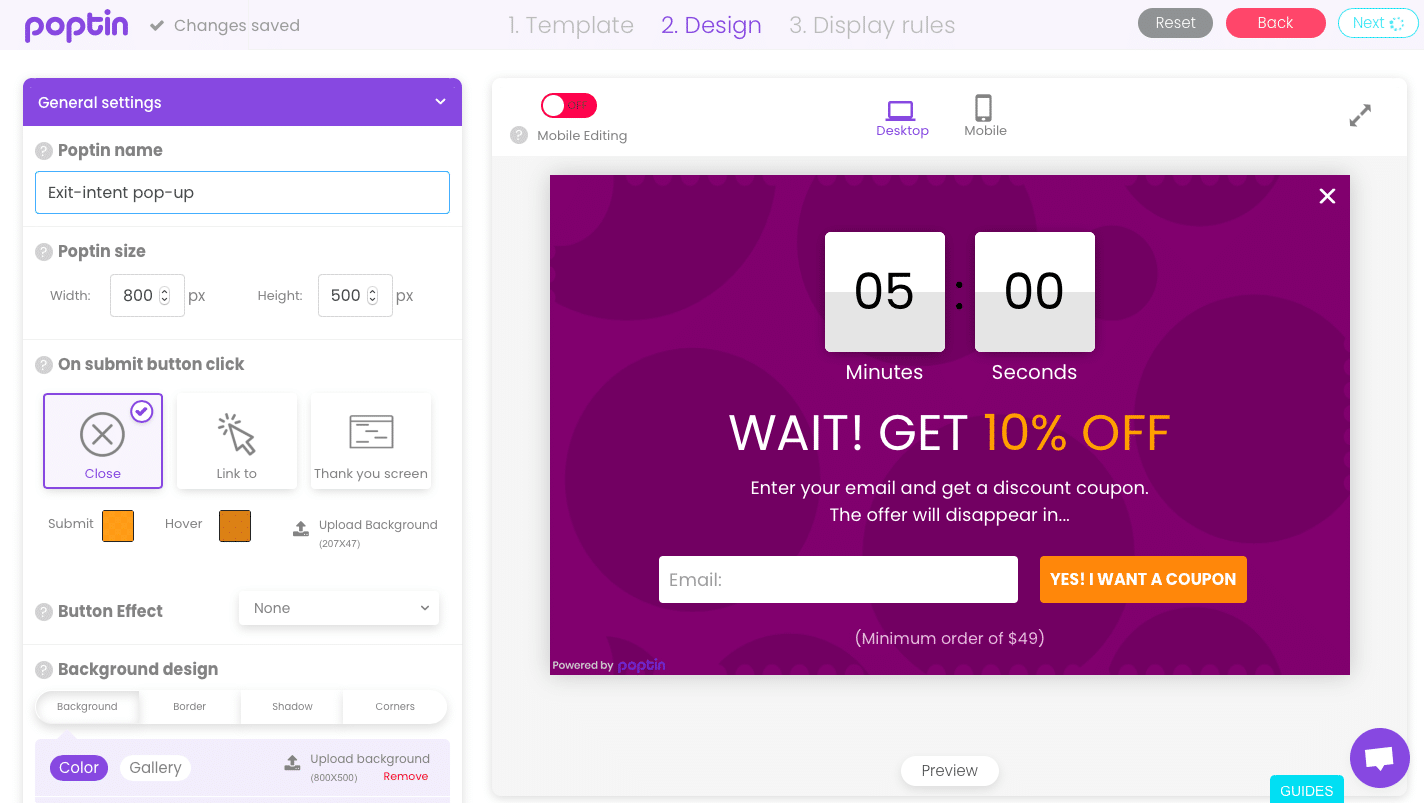
Now you can edit your popup. The editor is easy to use. You can customise your popup by adding graphic elements (icons, buttons), discounts (coupons code), integrations…. You have a wide choice of possibilities.
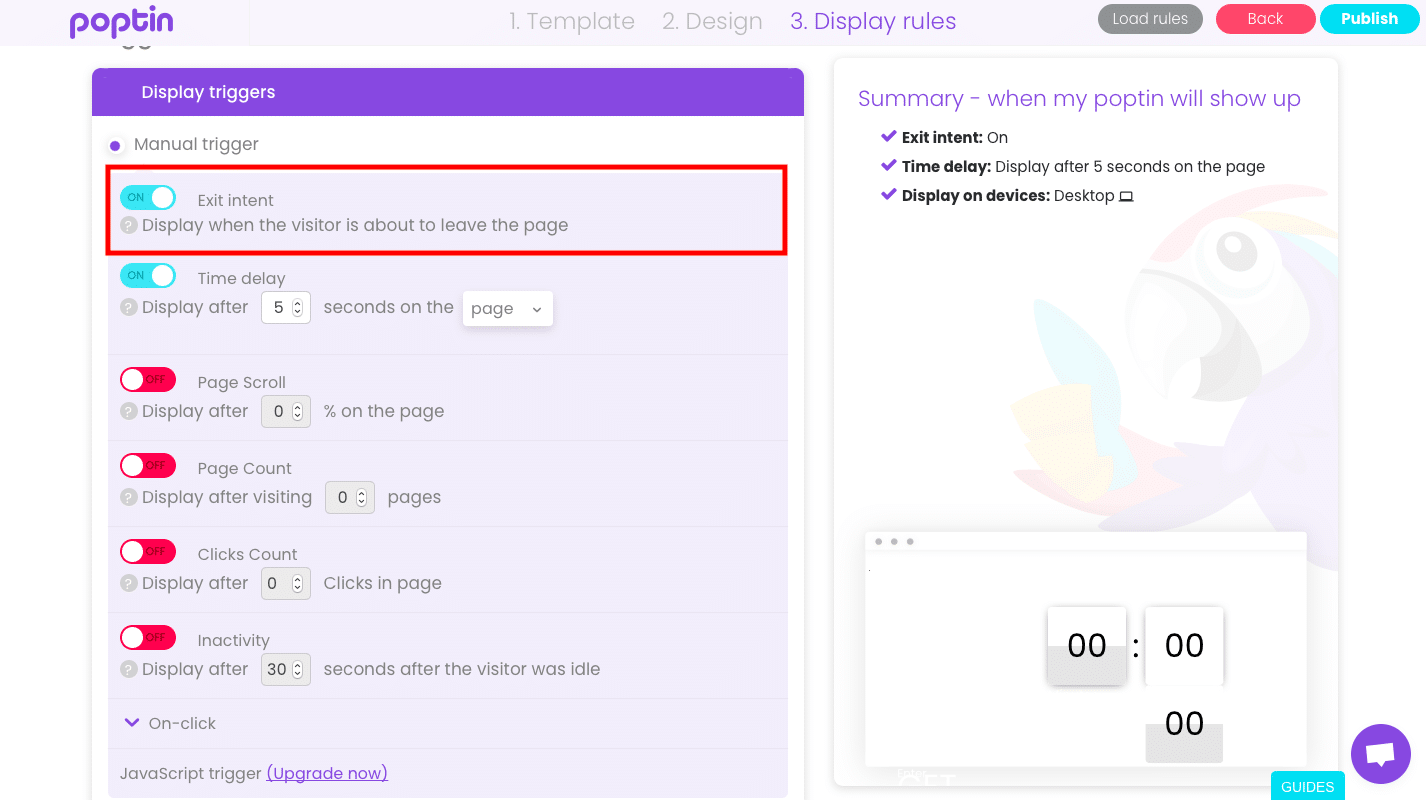
Your exit popup is ready. You can now choose the display rules. Press the “next” or “display rules” button. This is where you can decide when your popup will appear on your website. To create an exit intent popup, you must activate Exit intent. The popup will then appear when the visitor is about to leave the page. You have a summary on the right that summarises all the rules applied to the popup.
You can also decide how long the popup is displayed on the screen and when it is displayed according to different parameters:
- The percentage of the page visited
- The number of pages visited
- The number of clicks
- Inactivity
Your popup is now ready! All you have to do is publish it. Now you know how to create an exit popup on WordPress.

