When it comes to sending mass emails on WordPress you may ask yourself: What is the most efficient and easiest way to do it? There are a lot of solutions but you can separate them into 2 kinds: external server (SMTP) or your own server. Since hosting services don’t always provide servers for email sending and as SMTP seems to be the best solution.
Several email service providers compete with each other, including Mailgun, Sendinblue, Sendgrid… Our focus today is on Amazon SES, we will see how to set this external email service up.
WHAT IS AMAZON SES?
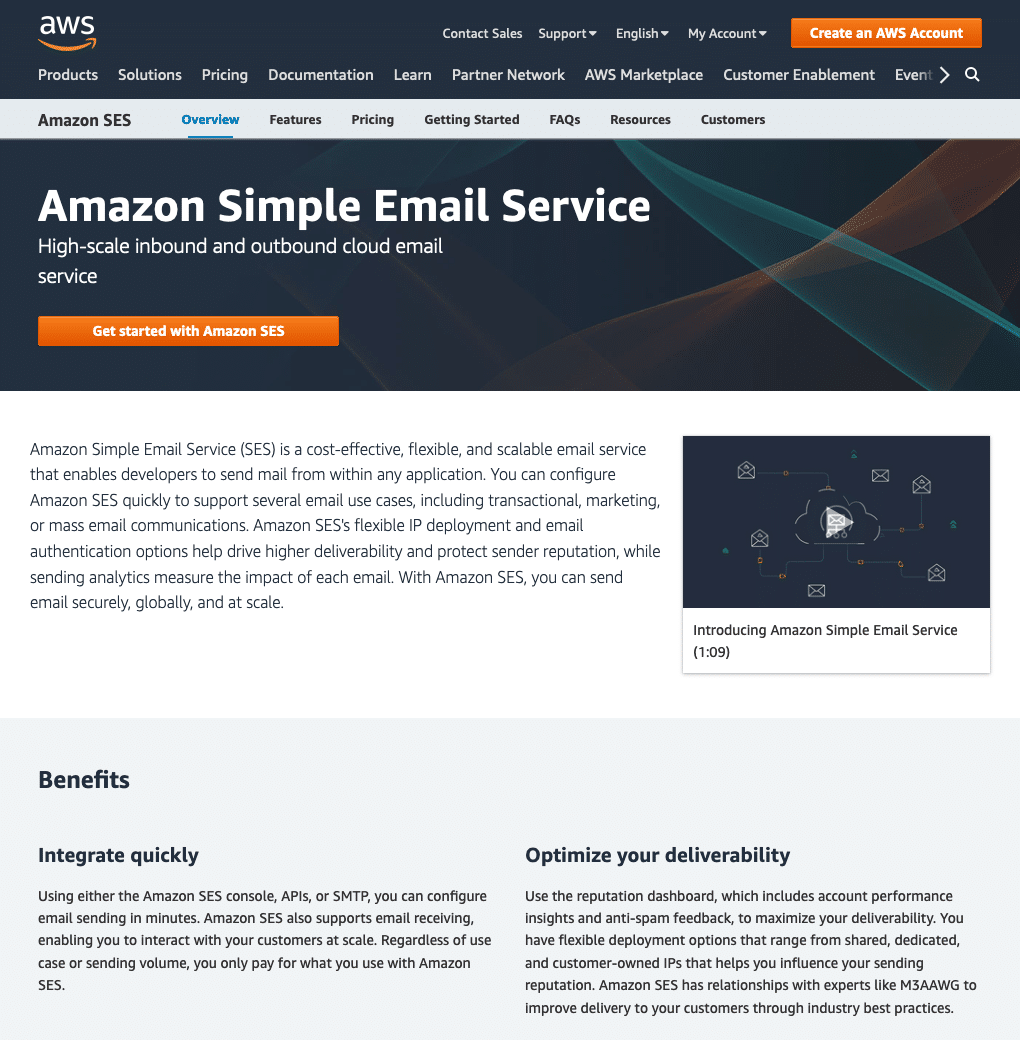
Amazon SES is part of the Amazon Web Services (AWS) structure which is developed by Amazon. AWS is a cloud service that offers a lot of services like hosting websites, sending emails, sending SMS, etc.
One of the strengths of Amazon SES is that you don’t have any limit on the number of emails you can send. Most of the competitors have plans with a rate of emails to send every day/month.
HOW TO SET UP AMAZON SES FOR WORDPRESS?
Setting up Amazon SES for WordPress is very simple. We will see now how to install and configure SES on WordPress.
STEP 1: Create an Amazon SES account
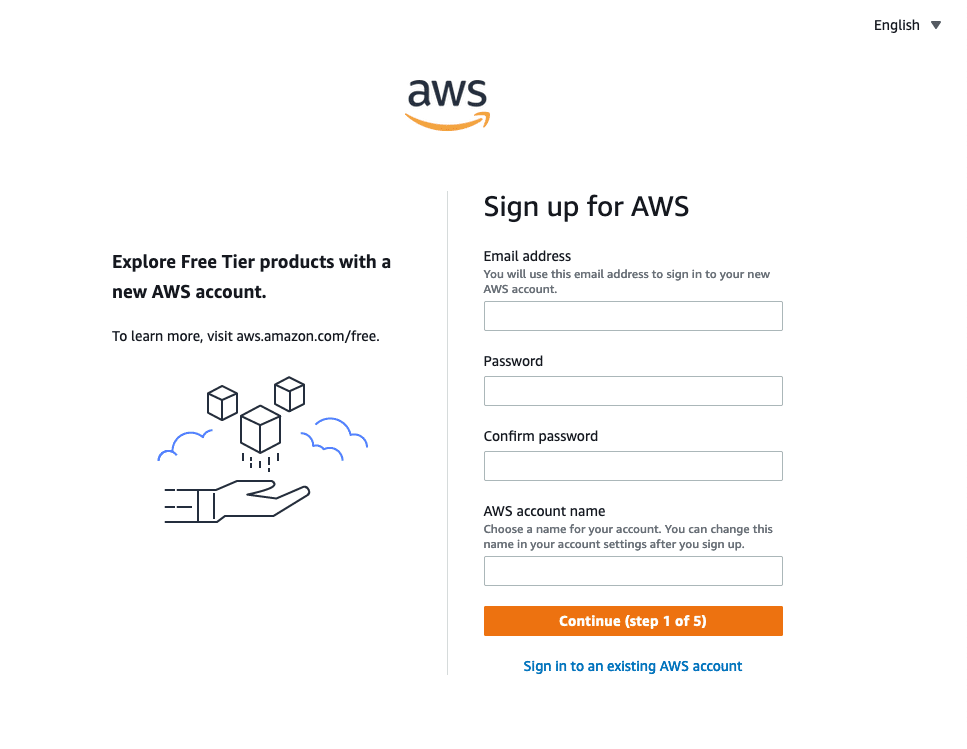
In order to get started, you first need to create an account on Amazon AWS.
Once you’ve registered with all of your information you’ll need to activate your account and wait a maximum of 24 hours to get your access to Amazon SES.
STEP 2: Create your Amazon SES SMTP credentials
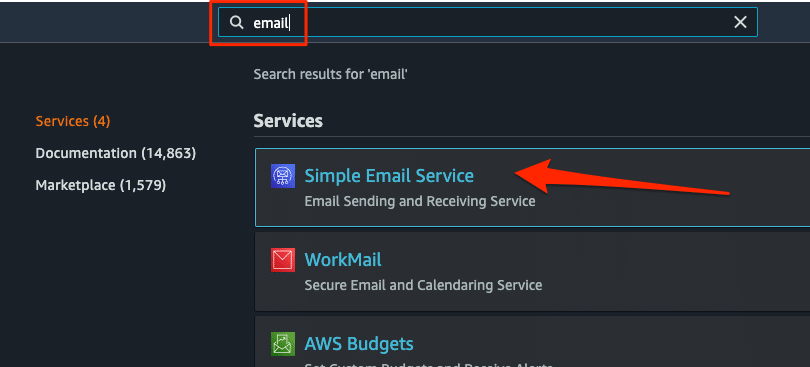
Once your account is fully activated, on your AWS console on the search bar type “email” and click on the Simple Email Service.
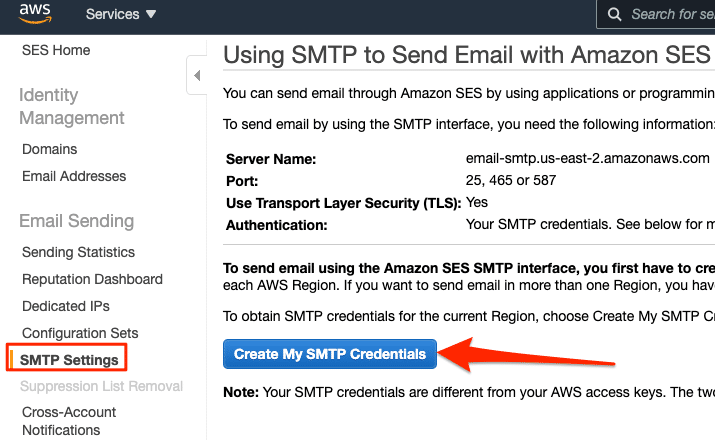
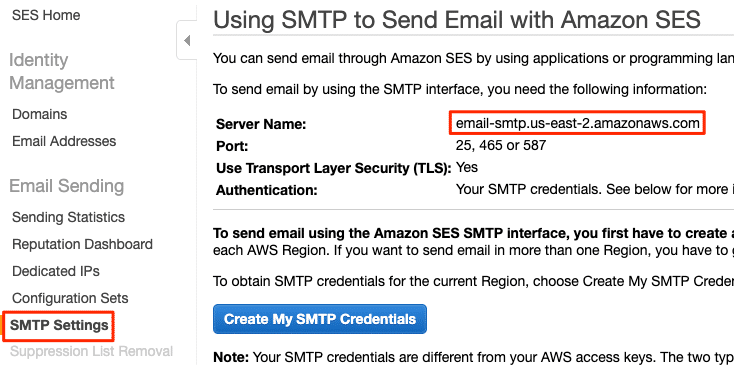
Then in your Amazon SES console you can directly visit the SMTP settings menu and click on the Create My SMTP Credentials:
You will have to set a username for these SMTP credentials. You can let the name already set in the input field.
Click on the Create button and your credentials you’re done!
Now the best thing to do is to export these information as it won’t be accessible anymore once the page is closed. To do this, you can use the export button at the right bottom of the page.
STEP 3: Install and configure AcyMailing to send newsletter using Amazon SES
First, if you didn’t install AcyMailing yet then you should definitely do it.
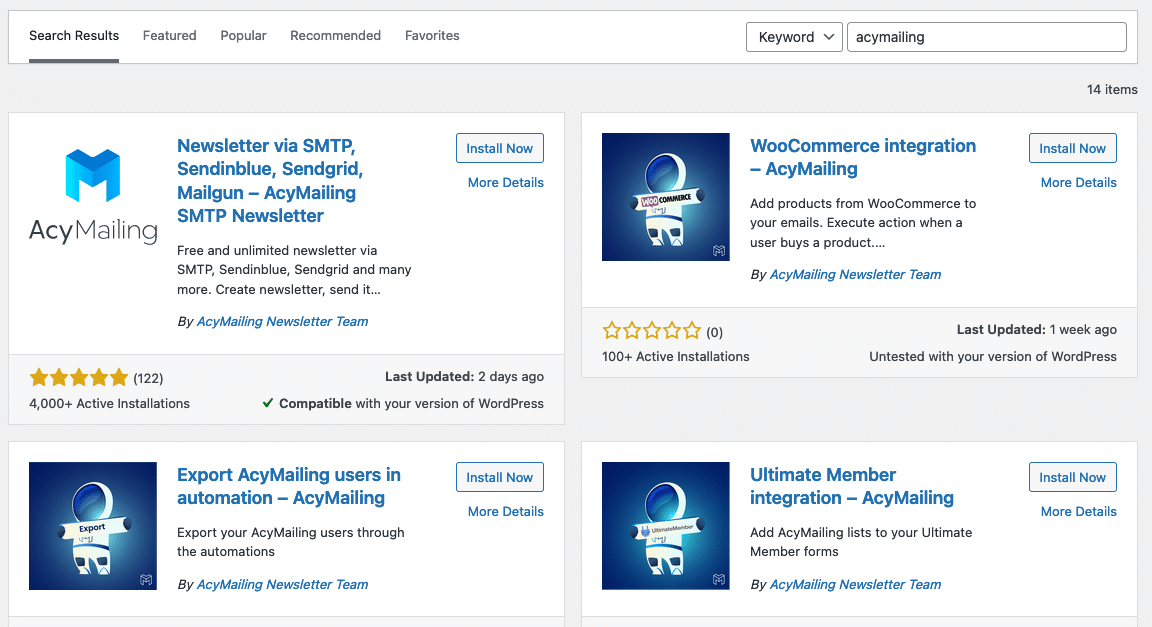
Go to your WordPress website, click on the “Plugins” menu entry then “Add new”. Search for AcyMailing and download + install it.
Go to your AcyMailing configuration and select the first tab: Mail Settings. Then scroll down to the Mail settings part where you can select your sending method.
Several options will be presented to you when you select Amazon SES. You’ll need to fill these ones.
The first one is the Amazon SES server name.
You can find it on your Amazon SES console (SMTP settings menu):
The 2 other options are the credentials that you’ve created earlier so you just have to copy-paste them in the right field and click on save.
Important note: If you create a new account on Amazon SES, your account will automatically be a sandbox (test account) this means that you can only send emails to verified email on your Amazon SES console.
You can simply send a request to Amazon to enable your account and send emails to everyone.
Here is a link to our official documentation on Amazon SES.
All your settings are now configured and can now send your newsletter using AcyMailing and Amazon SES. And that’s not all… AcyMailing has other features that will fit perfectly with Amazon SES for WordPress. You can also:
- Segment your newsletters,
- Create subscription forms,
- Do automations,
- Analyse your emailing campaigns,
- And many more…
ALTERNATIVE SOLUTION TO USE AMAZON SES WITH WORDPRESS
The plugin WP mail SMTP will allow you to send WordPress cores emails like password reset, new account, etc instead of your server.
This is not a newsletter plugin.
If you don’t already have the plugin WP mail SMTP install it on your WordPress site using the standard plugin installation proce
STEP 3: WP Mail SMTP WORDPRESS PLUGIN
You must now log in to your WordPress page on your website.
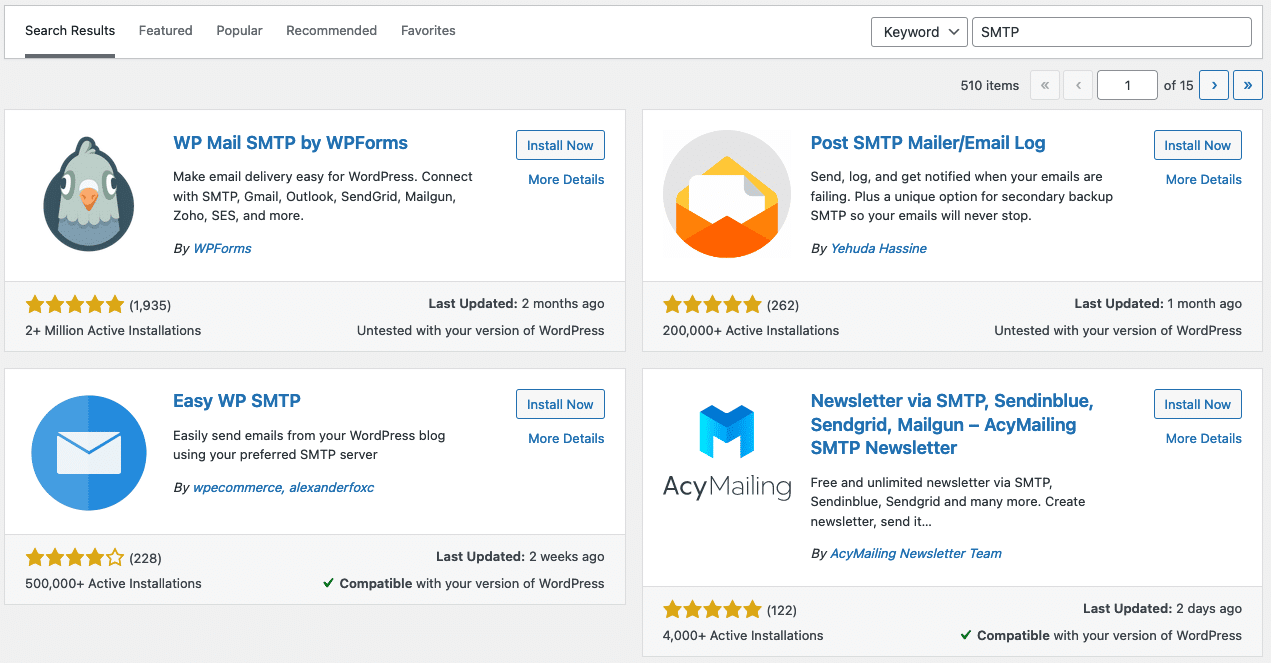
To download WP Mail SMTP for WordPress, go to the Plugin then Add New section and search for ‘SMTP’ in your search bar.
You can now download it and activate it at the end of the download.
STEP 4: WP Mail SMTP WORDPRESS PLUGIN CONFIGURATION
Once it’s downloaded go on the settings page in the General tab and scroll down to the Mailer part.
If you have the pro version you can directly select the AWS option and fill the option with your credentials.
If you have the free version you can use Amazon SES but you’ll have to select the Other SMTP.
Here are the options to set and where you can find the information:
- SMTP Host: server name in your Amazon SES console
- Encryption, SMTP port, Authentication: select TLS and let the default values for these 3.
- SMTP username, SMTP password: fill them with the credentials that you’ve previously created on your Amazon SES console
Click on Save Settings and now your emails will be sent with AWS!
Looking for alternatives or some other sending methods? Take a look at:

